The moment you finally spin up a new VPS is not the time to relax. Automated bots start scanning it before you even finish your coffee, trying every exploit in the book. Most of them will fail, unless you overlook the basics.
Server security isn’t a “later” task. This guide walks you through the first hardening steps for a new remote server — VPS or dedicated hosting — using universal command-line practices. It replaces weak defaults, closes lazy attack vectors, and gives you a clean, repeatable baseline you can trust anywhere.
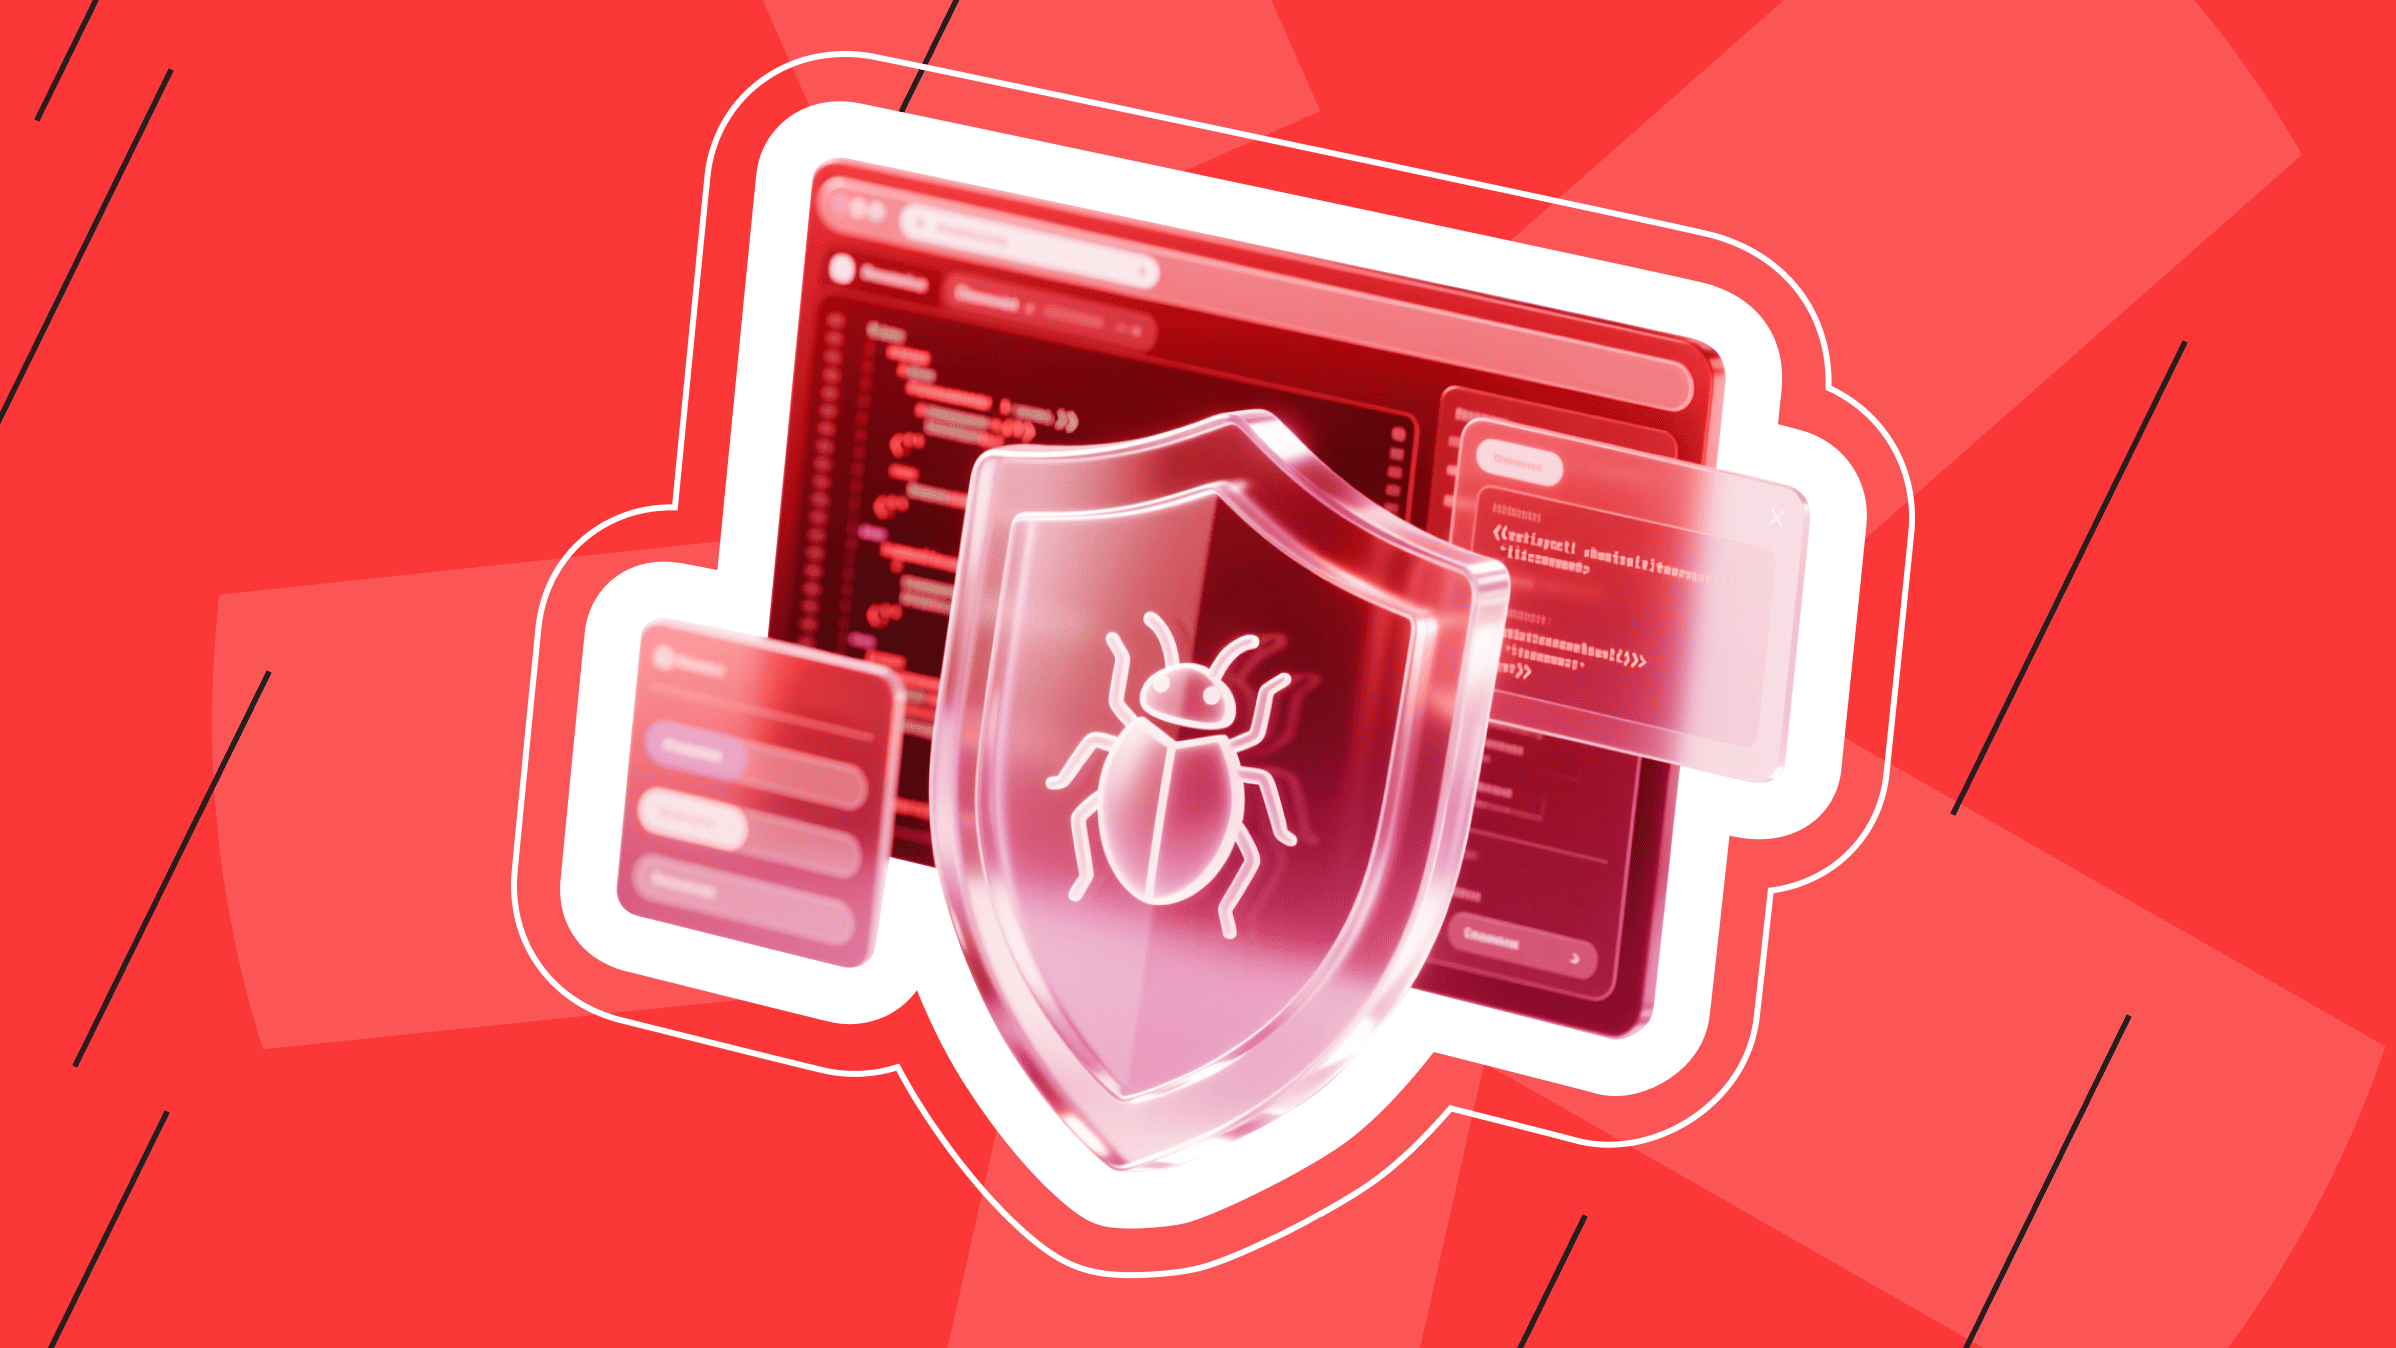
What Is Server Security?
Server security means keeping your machine under your control — and no one else’s. It includes everything that protects your system from unauthorized access, misuse, or plain stupidity.
That involves:
- Server-side measures: disabling root logins, setting up firewalls, and enabling automatic updates.
- Application-level protections: using HTTPS, enforcing sane file permissions, and locking down databases.
In short, server security is the discipline that keeps your infrastructure safe, predictable, and trustworthy, even when the rest of the internet isn’t.
Initial Access and Updates

The very first steps you take when accessing a new server (in this article, a VPS) are crucial for establishing a secure foundation. This section covers how to securely connect to your server and immediately apply all necessary system updates to protect against known vulnerabilities.
How to Establish a Secure Connection to a Server
To establish a secure connection to a server, log in through Secure Shell (SSH) right after getting a VPS or dedicated machine. SSH encrypts all communication, so nobody can snoop on your login or data in transit.
For maximum safety, generate an SSH key pair on your local computer, copy the public key to the server, and disable password login entirely. This way, your server only accepts connections backed by your private key — a secure lock-and-key system that automated bots can't brute-force.
Connecting via SSH for the First Time
Your new VPS comes with an IP address, a root username, and a password. To get inside, you'll use SSH from your own computer.
On Linux or macOS, open the Terminal. On Windows, open PowerShell or use PuTTY.
Run this command (replace your-server-ip with the IP address provided by your host):
ssh root@your-server-ip (example: ssh [email protected])

The first time you connect, SSH will display a warning about the server's fingerprint. Type yes to continue, then enter your root password. If everything goes well, you'll land on a prompt like:
root@vps-321306:~#

Updating the System Packages and Kernel
Under the hood, a brand-new VPS often ships with software that's weeks or even months behind on security patches. Hackers know this and actively scan for servers running outdated kernels and services. That's why the very first thing you should do after logging in is to update everything — before installing apps, tweaking configs, or doing anything else.
On Ubuntu/Debian servers, run:
sudo apt update && sudo apt upgrade -y

Apart from fetching the latest package list and installing updates, this step alone closes many of the most common vulnerabilities. If the update includes a new Linux kernel, the changes will not take full effect until you restart the system. A quick reboot is worth it at this stage:
sudo reboot

Do it now, not ‘later today’. Every hour you delay is another scan hitting your outdated kernel.
After the reboot, check your current kernel version with:
uname -sr
Keeping your server patched is the single biggest step toward secure server operation. Hackers often exploit vulnerabilities that already have fixes available; they're just waiting for admins who forget to update.

User Management and Authentication

Managing users and how they authenticate is a cornerstone of server security. By default, most servers allow direct root login with a password, which is a highly insecure setup. This section guides you through creating a less privileged user for daily tasks, configuring SSH key-based authentication, and disabling risky root logins.
Creating a Non-Root User with Sudo Privileges
Logging in as root for everyday tasks is like leaving the keys to your house on the front porch. You can do it, but it's risky. Instead, create a non-root user who can run admin commands with sudo.
Run these commands while logged in as root:
adduser alex
usermod -aG sudo alex
Now you can log in as alex and elevate privileges only when needed. If someone compromises this account, they still need sudo access to cause real damage.
If you still do everything as root, that’s not administration — that’s gambling with uptime.


Disabling Direct Root Login
Once you've confirmed your new non-root user works properly, it's time to close one of the biggest security gaps on a fresh server: direct root logins.
By default, many VPS providers let you log in as root with the master password. Sure, it’s convenient — until a bot brute-forces root faster than your coffee cools.
Root has unlimited power, and if an attacker brute-forces or leaks that password, they instantly control your entire machine. That's why best practice is to force everyone (even you) to log in as a regular user first, and only escalate to root privileges with sudo when needed.
To make this change, open the SSH configuration file:
sudo nano /etc/ssh/sshd_config
Look for this line:
#PermitRootLogin yes
Uncomment it (remove the # if present) and change it to:
PermitRootLogin no
Save and exit the file (Ctrl+O, Enter, then Ctrl+X).
Then restart the SSH service to apply the change:
sudo systemctl restart sshd


From this point on, you can't log in directly as root over SSH. You'll connect with your non-root user, then use sudo when you need admin rights. This single step shuts a huge attack door that automated bots love to hammer.
Setting Up SSH Keys for Authentication
Strong passwords are good, but let's be real: they can still be guessed, stolen, or brute-forced by bots hammering your server day and night. SSH keys are a much safer option. They use cryptography instead of human-typed secrets, making them nearly impossible to crack with brute force. Once you set them up, you can log in without ever needing to type a password again.
On your local machine (not the server):
ssh-keygen -t ed25519 -C [email protected]

When prompted, press Enter to accept the default file location (~/.ssh/id_ed25519). If you want extra security, you can also add a passphrase; that way, even if someone steals your private key, they can't use it without the passphrase.
Next, send the public part of your key to your server. Replace alex with your non-root username and your-server-ip with your server's actual IP:
ssh-copy-id alex@your-server-ip
This creates a secure key pair and copies the public key to your server.
On the server, verify the key is saved here:
cat /home/alex/.ssh/authorized_keys
You should see your public key listed there. From now on, when you SSH into the server, it will use your private key automatically — no password needed.
Congrats! You just made your login practically unhackable. Unless, of course, you name your private key id_ed25519_final_FINAL_really_last.pem and lose it.
Securing SSH

SSH is your primary gateway into the server, making it a prime target for attackers. This section focuses on fortifying your SSH configuration by changing the default ports, enforcing stricter authentication methods, and employing automated tools to block malicious login attempts.
Changing the Default SSH Port
Most automated attacks target port 22, the SSH default. Changing it doesn't make your server invincible, but it cuts down on noise in your logs.
Open the config:
sudo nano /etc/ssh/sshd_config
Change the port line:
Port 2222
Save, then update your firewall to allow the new port. Always test before closing your current session:
ssh -p 2222 alex@your-server-ip
Restricting Access by IP (Optional)
If you connect from a static IP (for example, your office), you can lock SSH access to that address only. With Uncomplicated Firewall (UFW), run:
sudo ufw allow from 203.0.113.5 to any port 2222 proto tcp
Replace 203.0.113.5 with your own IP.
Enforcing Key-Based Authentication
To force SSH to accept only key-based logins, edit sshd_config:
PasswordAuthentication noChallengeResponseAuthentication noPubkeyAuthentication yes
This guarantees no one can brute-force a password-based login.
Using Fail2Ban Against Brute-Force Attacks
Fail2Ban monitors your logs and bans IP addresses that try to brute-force login.
sudo apt install fail2ban -ysudo nano /etc/fail2ban/jail.local

Add a section for SSH. If you changed your SSH port earlier (for example, to 2222), make sure the port here matches:
[sshd]enabled = trueport = 2222bantime = 3600maxretry = 5
Restart Fail2Ban:
sudo systemctl restart fail2bansudo fail2ban-client status sshd
From this point forward, any bot or user that keeps hammering your SSH login will be blocked automatically. This reduces log noise, slows down attackers, and gives you more breathing room to focus on actual work instead of watching failed login attempts scroll by.
Firewall Configuration

Think of a firewall as the bouncer at your server's door. Without one, every random connection request gets through. With one, only the people on your guest list (allowed ports) are let in.
Choosing Between iptables, UFW, or firewalld
There are three common ways to configure firewalls on Linux:
- iptables – powerful but low-level; requires many manual rules.
- UFW – a friendly wrapper around iptables, perfect for Ubuntu/Debian.
- firewalld – common on CentOS/RHEL, with zones and dynamic configuration.
For most setups, UFW is the recommended option. It's simple, reliable, and gets the job done without a learning curve.
If you're using CentOS/RHEL, you can swap out the UFW commands for firewall-cmd.
Setting Basic Rules
Start by setting your defaults: block everything incoming, and allow everything outgoing. Then, only open the ports you actually need.
sudo ufw default deny incomingsudo ufw default allow outgoing
Next, allow SSH (on your custom port, e.g., 2222):
sudo ufw allow 2222/tcp
If you're running a website, open HTTP and HTTPS too:
sudo ufw allow 80/tcpsudo ufw allow 443/tcp

Finally, enable UFW:
sudo ufw enable
Opening Ports Only When Necessary
Here's a quick rule of thumb: if you're not using a port, close it. For example:
Running a database, but only locally? Don't open MySQL's 3306 to the world.
Temporarily allowing a service for testing? Add the rule, test it, then remove it with:
sudo ufw delete allow 8080/tcp
To see your firewall rules at any time:
sudo ufw status verbose
System Hardening

System hardening in the simplest scenario can be reduced to the following rule: close what you don't use and keep what matters.
Disabling Unused Services and Daemons
Servers often ship with background services you don't actually need. Each one is a potential backdoor. First, list what's running:
systemctl list-unit-files --type=service | grep enabled
If you see services you don't need (like avahi-daemon or cups), disable them:
sudo systemctl stop avahi-daemonsudo systemctl disable avahi-daemon
Configuring Automatic Security Updates
Hackers love lazy admins — don’t make their day. Set your system to automatically update. On Ubuntu/Debian:
sudo apt install unattended-upgrades -ysudo dpkg-reconfigure --priority=low unattended-upgrades
Check the config file:
cat /etc/apt/apt.conf.d/20auto-upgrades
Enabling Kernel-Level Protections (sysctl Settings)
You can add extra protection at the kernel level using sysctl. Create a file:
sudo nano /etc/sysctl.d/99-hardening.conf
Add these rules:
net.ipv4.conf.all.accept_redirects = 0net.ipv4.conf.all.send_redirects = 0net.ipv4.tcp_syncookies = 1kernel.randomize_va_space = 2
Apply the changes:
sudo sysctl --system
Monitoring and Logging

Security isn't just about closing doors — it's about knowing what's happening inside. VPS monitoring gives you visibility into both normal behavior and suspicious activity.
Setting Up System Logs with journalctl/syslog
Your server already logs a ton of events. Use journalctl to read system logs:
journalctl -xe
Or check classic syslog entries:
cat /var/log/syslog
Installing Log Monitoring Tools (Logwatch, Logrotate)
Reading raw logs every day isn't fun. Logwatch summarizes logs into human-readable reports.
sudo apt install logwatch -ysudo logwatch --detail High --service All --range today --output stdout

Logrotate, which is already installed on most systems, helps prevent log files from eating up disk space. You can tweak /etc/logrotate.conf for custom schedules.

Basic Intrusion Detection with AIDE or OSSEC
If someone sneaks into your server and changes files, you want to know about it. That's what intrusion detection does.
Install Advanced Intrusion Detection Environment (AIDE):
sudo apt install aide -ysudo aideinitsudo mv /var/lib/aide/aide.db.new /var/lib/aide/aide.dbsudo aide --check
For more advanced setups, tools like OSSEC can provide real-time alerts and log correlation.
Backup and Recovery Basics

Backups and disaster recovery plans are lifesavers. You hope you’ll never need them, but if you do, you really need them to work.
Creating Your First Automated Backup
The simplest method is to use rsync. Here's a quick script to back up your web directory:
#!/bin/bashSRC="/var/www/"DEST="backup@backup-server:/backups/$(hostname -s)/"rsync -avz --delete $SRC $DEST
Save this as /usr/local/bin/backup.sh, then make it executable:
chmod +x /usr/local/bin/backup.sh

Schedule it with cron:
crontab -e0 2 * * * /usr/local/bin/backup.sh
This runs nightly at 2 AM.
Testing Restore Procedures
A backup isn't a backup until you've tested restoring it — preferably before a Friday night outage.
Pick a test directory and restore:
rsync -avz backup@backup-server:/backups/$(hostname -s)/ /tmp/restore-test/
Check the restored files:
ls -la /tmp/restore-test/

Offsite and Encrypted Backup Considerations
For true resilience, you should never rely on backups stored only on the same server. If that machine fails or gets compromised, your backups will go down with it. A better approach is to push copies offsite.
One option is to use cloud storage with rclone, which supports providers like AWS S3, Google Cloud, Backblaze B2, or dedicated storage. For extra security, you can apply encryption using tools such as gpg or rclone crypt, so that even if someone intercepts your backup files, they remain unreadable.
Finally, consider geographic redundancy by storing backups in different regions or data centers. That way, if one location goes offline due to an outage or disaster, you’ll still have clean, accessible copies elsewhere.
Follow the 3-2-1 strategy: three copies, two types of storage, one offsite.
Application-Level Security

Once your server itself is secure, you need to go beyond the operating system to protect the apps running on it.
Securing Common Services (Nginx, Apache, MySQL/Postgres)
When it comes to securing common services, web servers and databases require extra attention. For Nginx or Apache, the first rule is to avoid running them as root. Instead, use a restricted service account like www-data or another dedicated user with minimal privileges.
In this case, even if the web server is compromised, the attacker won't gain full system control. It's also a good idea to disable directory listing to prevent outsiders from browsing the contents of your web folders, and to limit modules or plugins to only those you actually need, reducing the overall attack surface.
For databases such as MySQL or Postgres, you should bind them to 127.0.0.1 so they only accept local connections unless remote access is absolutely necessary. On top of that, enforce strong, unique passwords for all database accounts and follow the principle of least privilege: give each user only the specific permissions required for their role, and nothing more.
# Example for MySQL to listen only locallysudo nano /etc/mysql/mysql.conf.d/mysqld.cnfbind-address = 127.0.0.1
Setting Correct File Permissions
Make sure your web files aren't writable by everyone. For a typical web root:
sudo chown -R www-data:www-data /var/www/example.comsudo find /var/www/example.com -type d -exec chmod 750 {} \;sudo find /var/www/example.com -type f -exec chmod 640 {} \;
Using TLS Certificates (Let's Encrypt Setup Example)
Encrypting traffic is no longer optional; it's required for trust and SEO. With Let's Encrypt, you can add HTTPS in minutes.

Install Certbot:
sudo apt install snapd -ysudo snap install core; sudo snap refresh coresudo snap install --classic certbotsudo ln -s /snap/bin/certbot /usr/bin/certbot
Request and install a certificate for Nginx:
sudo certbot --nginx -d example.com -d www.example.com
Test renewal:
sudo certbot renew --dry-run
Final Checklist
Now your blank VPS is no longer like an open door; it's more like a fortress with a moat around it. The checklist below pulls everything together — a quick pre-flight before you ship anything to production.
Run through it every time you deploy a new server. Skip a step, and you’ll find out why it was there the hard way.
Initial Access & Updates
- Connect via SSH as root and verify login works.
- Run sudo apt update && sudo apt upgrade -y to patch everything before doing anything else.
- Reboot if a new kernel drops and confirm with uname -sr. Don’t postpone it “for later.”
User Management & Authentication
- Create a non-root user (adduser + usermod -aG sudo).
- Disable direct root login in /etc/ssh/sshd_config.
- Generate SSH keys locally and copy the public key to the server.
- Check /home/username/.ssh/authorized_keys. If it’s empty, start over.
Securing SSH
- Change the default port from 22 to something else.
- Optionally restrict SSH by IP via UFW.
- Enforce key-only authentication (PasswordAuthentication no).
- Set up Fail2Ban: the digital flyswatter for bots that can’t take a hint.
Firewall Configuration
- Set defaults to deny incoming and allow outgoing traffic.
- Only open the ports you actually use (SSH, HTTP, HTTPS).
- Review rules with ufw status verbose — because “I think it’s fine” isn’t monitoring.
System Hardening
- List and disable unnecessary services (systemctl list-unit-files --type=service).
- Enable unattended-upgrades.
- Apply sysctl tweaks for anti-spoofing, SYN cookies, and ASLR.
Monitoring & Logging
- Check logs with journalctl -xe.
- Install Logwatch. Reading raw logs is penance, not practice.
- Configure Logrotate to prevent /var/log from eating your disk.
- Deploy AIDE or OSSEC for intrusion detection — trust, but verify.
Backup & Recovery
- Write a backup script (rsync or rclone).
- Automate it with cron (0 2 * * *).
- Test restores — not when it’s broken, but before it’s broken.
- Follow the 3-2-1 rule: three copies, two media types, one offsite.
Application-Level Security
- Run web and DB services as non-root users.
- Bind databases to 127.0.0.1.
- Set sane permissions: directories 750, files 640.
- Install TLS via Let’s Encrypt — HTTPS is no longer optional.
With this checklist, server security stops being guesswork. Follow it once, automate it next time, and you’ll sleep through the night instead of babysitting strange logs.
Bare Metal Server
No virtualization, no sharing — just raw, dedicated performance. Perfect for demanding workloads and custom setups.
From $75.00/mo