Many software development teams seek ways to deliver updates faster and reduce manual work. They aim to streamline code changes from commit to release without unnecessary delays. A CI/CD pipeline is a great way to achieve this goal. It links code repositories to automated steps to handle integration, testing, and deployments. This approach increases release frequency, enhances trust in the process, and helps teams catch issues early. By implementing CI/CD pipeline practices, developers create a reliable workflow that ensures stable code and quick improvements.
Keep reading to explore CI/CD pipeline stages, tools, and practical steps for setting up CI/CD pipeline tasks.
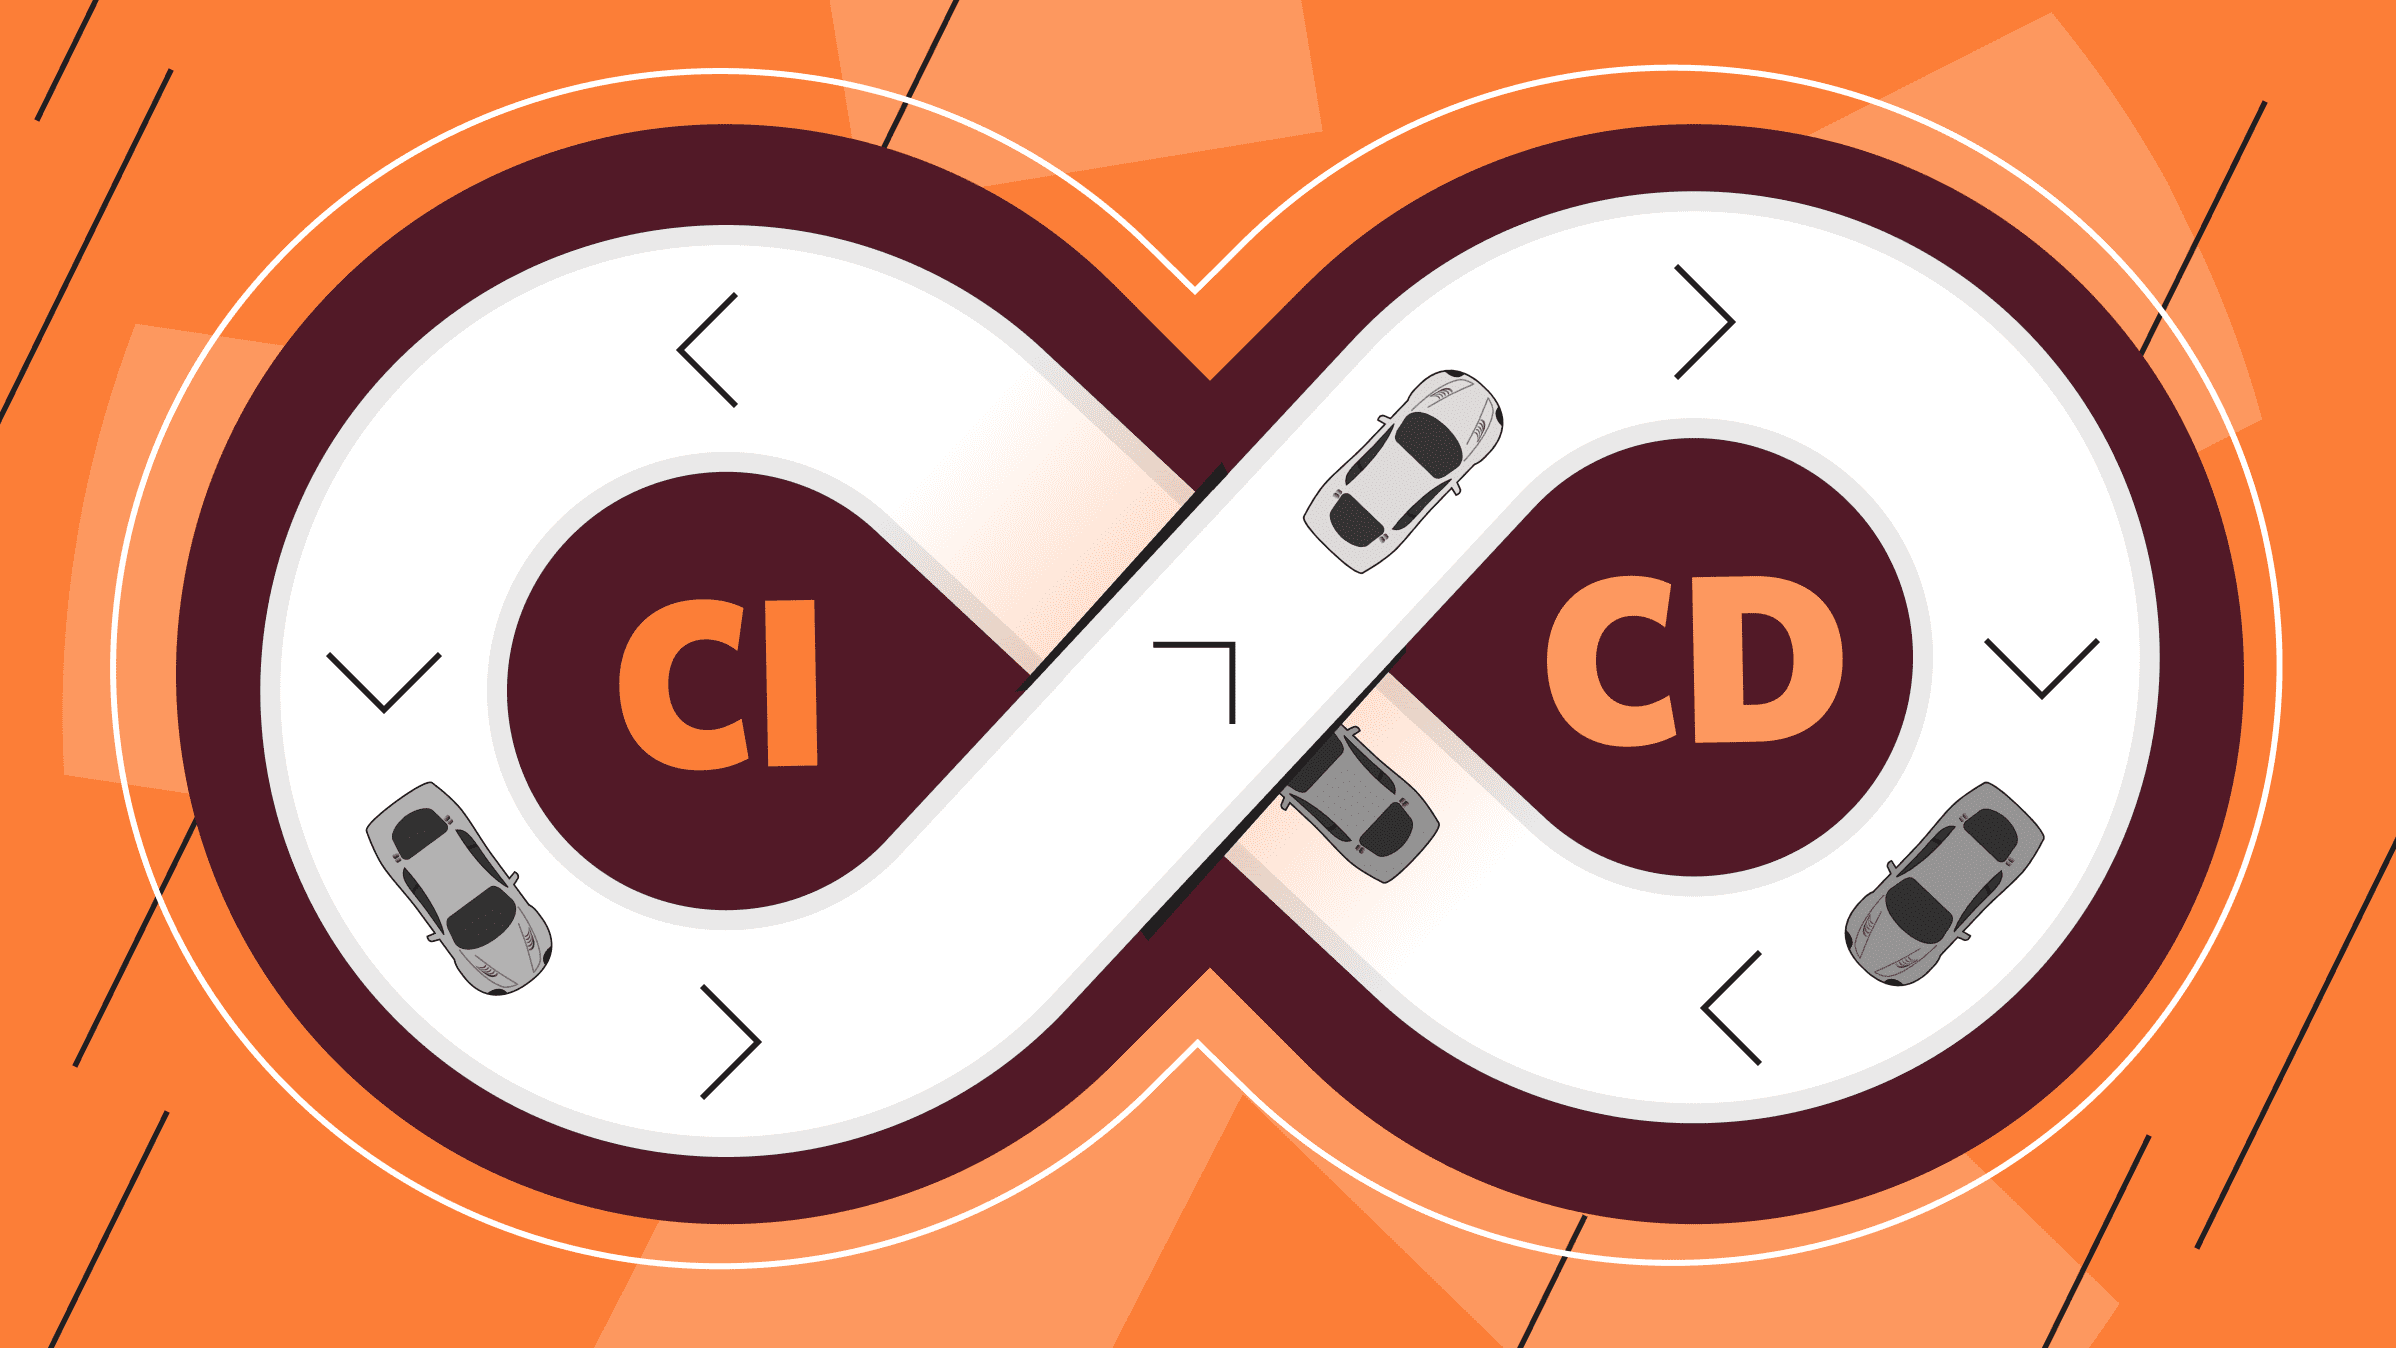
What is a CI/CD Pipeline?
A CI/CD pipeline is a continuous sequence of automated steps that move code from a simple commit to a deployed release. It connects a code repository to builds, tests, and deployments, triggering each stage automatically whenever code changes occur. The CI/CD pipeline eliminates the need for manual checks, providing faster feedback and more stable integration.
By leveraging a CI/CD pipeline, teams reduce repetitive tasks, freeing up time to add features and improve code quality. The pipeline alerts developers to failed tests, enabling early issue detection. Continuous integration (CI) ensures frequent code merges, while continuous delivery guarantees the code is always ready for deployment. Continuous deployment (CD) takes it a step further, automatically pushing changes into production once all checks pass. Together, these practices form a single CI/CD pipeline that ensures dependable, high-quality releases.
Teams that adopt a CI/CD pipeline experience the advantages of CI/CD pipeline methods, such as early bug detection, smooth updates, and the confidence to release changes frequently. This continuous approach leads to reliable software that meets user needs efficiently.
Tools for CI/CD Pipelines

There are many CI CD pipeline tools available, including:
- Jenkins. A popular open-source automation server with strong plugin support.
- GitLab CI. Integrated with GitLab, offering native runners and a simple setup.
- CircleCI. A hosted solution that scales easily and supports parallel jobs.
- Travis CI. Connected to GitHub, running builds in hosted environments.
- Azure Pipelines. Part of Azure DevOps, compatible with various languages and platforms.
- GitHub Actions. Integrated with GitHub, enabling workflow automation directly within repositories.
- AWS CodePipeline. A cloud-based service from Amazon for automating build, test, and deployment processes.
When selecting a tool, consider factors such as programming language and existing infrastructure. Some tools integrate well with containers, making it easy to deploy images, while others support multiple clouds or on-premise servers. Strong documentation and community support can guide the building of a CI/CD pipeline. Over time, CI/CD pipeline tools gain enhancements, such as caching or parallel testing, resulting in faster feedback loops.
As the team grows comfortable, they can add more checks and tests, building their pipeline to detect vulnerabilities through scans. Over time, these tools help teams build CI/CD pipeline workflows that create an efficient, scalable workflow that keeps pace with evolving projects.
Step-by-Step Setup
Many developers wonder how to build a CI/CD pipeline from scratch. The best approach is to start simple and gradually make things more complex. This ensures everyone stays on the same page and can learn at a manageable pace.
A general plan for setting up CI/CD pipeline tasks:
- Connect the code repository to a chosen tool.
- Define a build stage to compile or package the code.
- Add a test stage that runs automated checks.
- Include a delivery stage to deploy code to a staging environment.
- Introduce a deployment stage to move changes into production after passing tests.
Begin by selecting a suitable tool and writing a configuration file that outlines the build and test steps. Commit this file and push a code change to initiate the CI/CD pipeline automatically. If the pipeline fails, review the logs to identify the issue, fix it, and try again. You can add more steps to the pipeline, like static code analysis or integration tests, each time you make an improvement.
CI/CD Pipeline Stages

A CI/CD pipeline consists of several well-defined stages that guide code through a series of checks. Each stage confirms that the code meets quality standards before moving forward.
Common functional stages include:
- Source. The pipeline triggers code changes in the repository. Every commit starts a run of the CI/CD pipeline.
- Build. The pipeline compiles code and produces artifacts. The steps to build a CI/CD pipeline involve writing scripts that compile or package the application. If the build fails, the pipeline halts and reports errors.
- Test. The pipeline runs automated tests, such as unit and integration tests. If any test fails, the pipeline stops, preventing broken code from reaching production.
- Staging. Staging offers a safe environment similar to production where teams can run final checks, manual inspections, or special tests without impacting real users.
- Production. After passing all tests and checks, the pipeline deploys the code into production. The CI/CD deployment step ensures new features reach users quickly and reliably.
These stages form a logical flow. If there's a hiccup at any point, the pipeline prevents the change from advancing. This ensures that only reliable, tested code makes it to production, reducing last-minute surprises and emergency fixes.
Now let's look at the implementation steps your team should follow to establish the CI/CD pipeline.
Step 1: Configure Continuous Integration
The goal of continuous integration is to merge changes often while keeping the code base stable. The CI/CD pipeline runs builds and tests on every commit, allowing teams to quickly detect and resolve issues.
For continuous integration, write a configuration file that defines how to run builds and tests. When developers push changes, the pipeline checks whether the code compiles and passes tests. If successful, the code advances; if not, developers fix issues immediately. Continuous integration prevents large, untested merges that might cause chaos later.
Starting with continuous integration provides a solid foundation for your team. Without a reliable integration system, other steps just don't make sense. Once you've set up a solid CI system, adding delivery and deployment stages becomes much easier.
Step 2: Implement Continuous Delivery
The next step is continuous delivery. After passing integration checks, the pipeline packages the code and delivers it to a staging environment. Here, the team can inspect the application, run additional tests, or perform a manual review.
Continuous delivery keeps the code ready for release at all times. Instead of waiting for a special event, any commit that passes tests can be deployed. This flexibility allows for frequent updates and reduces stress on release days.
To set up continuous delivery, just add a staging step to the configuration. Define how to transfer artifacts to the staging server. The pipeline handles the rest, ensuring a seamless transition from code to a safe environment. As you go along, you'll learn how to set up a CI/CD pipeline that feels natural and efficient.
Step 3: Add Continuous Deployment
The final step is continuous deployment, which automates the release of changes into production. If all tests, checks, and staging evaluations pass, the pipeline deploys code to the live environment without manual intervention.
Continuous deployment accelerates delivery. Features reach users faster, and teams can respond quickly to feedback. Some teams prefer manual approvals, but those confident in their tests rely fully on automation.
To add continuous deployment, extend the configuration to include production deployment steps. Integrate the necessary credentials, then the CI/CD pipeline will manage releases from start to finish. Combining these steps creates a secure CI/CD pipeline that filters out unsafe code. This final stage minimizes delays and increases confidence in every release.
Practical Example
Let's walk through a simple CI/CD pipeline tutorial using a web application. Suppose the code is hosted on GitLab, and the team wants a CI/CD pipeline that builds the app, runs tests, and deploys changes.
To set this up, they create a .gitlab-ci.yml file at the project's root. This file defines the pipeline's stages, jobs, and commands. The pipeline will build, test, stage, and deploy the code.
Below is a basic configuration example. While this snippet is simple, it can be customized for different CI CD pipeline tools as needed.
stages:
- build
- test
- staging
- production
variables:
NODE_ENV: production
cache:
key: ${CI_COMMIT_REF_SLUG}
paths:
- node_modules/Build job — installs dependencies and compiles the app:
build_job:
stage: build
image: node:14
script:
- npm install
- npm run build
artifacts:
paths:
- dist/
cache:
key: ${CI_COMMIT_REF_SLUG}
paths:
- node_modules/
rules:
- if: '$CI_PIPELINE_SOURCE == "push" || $CI_PIPELINE_SOURCE == "merge_request_event"'Test job — runs the test suite after a successful build:
test_job:
stage: test
image: node:14
script:
- npm install
- npm run test
needs:
- build_job
cache:
key: ${CI_COMMIT_REF_SLUG}
paths:
- node_modules/
rules:
- if: '$CI_PIPELINE_SOURCE == "push" || $CI_PIPELINE_SOURCE == "merge_request_event"'Staging deploy — transfers artifacts to the staging server:
staging_deploy:
  stage: staging
  image: alpine:latest
  script:
    - echo "Deploying to staging server..."
    - scp -r dist/ user@staging-server:/var/www/app
  needs:
    - test_job
  when: on_success
  rules:
    - if: '$CI_PIPELINE_SOURCE == "push" || $CI_PIPELINE_SOURCE == "merge_request_event"'
  environment:
    name: staging
    url: https://staging.example.com
Production deploy — releases the app to production on the main branch:
production_deploy:
  stage: production
  image: alpine:latest
  script:
    - echo "Deploying to production server..."
    - scp -r dist/ user@production-server:/var/www/app
  needs:
    - staging_deploy
  when: on_success
  rules:
    - if: '$CI_COMMIT_BRANCH == "main"'
  environment:
    name: production
    url: https://www.example.com
Build job — installs dependencies and compiles the app:
In this CI/CD pipeline tutorial example, every commit triggers the pipeline. The build job compiles the code, test_job runs tests, staging_deploy moves code to a staging server, and production_deploy releases code to production if the commit is on the main branch.
Over time, teams can add integration tests, code quality checks, or security scans for known vulnerabilities. Studying CI/CD pipeline examples helps teams understand best practices and adapt them to fit their own needs.
Common Challenges and Solutions

Adopting a CI/CD pipeline may cause issues. Some teams find tests slow, making the pipeline sluggish. Others worry about securing sensitive information or integrating multiple environments. Fortunately, these challenges have solutions.
Possible approaches include:
- Run tests in parallel to reduce build time.
- Cache dependencies to speed up the CI/CD pipeline.
- Store sensitive information as encrypted variables.
- Write documentation explaining how to build a CI/CD pipeline for new team members.
- Use staging to catch problems early.
With patience, these issues fade. The pipeline grows stable as the team refines tests, improves scripts, and treats the pipeline as a core part of development.
Expanding the Pipeline with Additional Checks
Once the basic steps run smoothly, teams seek ways to improve quality further. A CI/CD pipeline can include various checks to safeguard code and maintain high standards.
Possible enhancements include:
- Static code analysis. This checks code style and enforces consistency.
- CI/CD pipeline security scans. A pipeline can run known vulnerability scans or dependency checks.
- Performance tests. These can measure response times, ensuring that new changes do not degrade performance.
- Code coverage metrics. Reporting coverage helps track how much code is tested.
- Integration with issue trackers. The pipeline can update tickets or alert the team if tests fail.
By adding these checks, the CI/CD pipeline transforms from a simple build-and-test tool into a comprehensive quality gate. With careful implementation, it provides continuous assurance, ensuring only well-tested code moves forward.
This growth happens gradually. Start with one new check. If it proves valuable, add more. Over time, the pipeline will cover all critical aspects of quality, leading to higher reliability and fewer production problems.
Handling Multiple Environments and Branches
Many projects have multiple branches and environments. A well-designed CI/CD pipeline can accommodate these variations. For example, development branches might run a reduced test set, while main branches run full tests and deploy to staging or production.
To achieve this, define conditions in the configuration. Specify that the production_deploy job runs only on the main branch, while staging can accept any branch named "feature-" or "release-". By configuring the pipeline differently for each environment, teams can ensure that every branch is tested in the right way.
Managing multiple environments requires the use of environment variables. The pipeline reads these variables and applies the correct settings. Docker images or container orchestration can help standardize environments, reducing differences between development, staging, and production. This keeps the pipeline consistent and predictable.
Scaling and Maintaining the Pipeline
As projects mature, the CI/CD pipeline must adapt to handle increased complexity. More tests and environments might be needed to support different deployment scenarios. This growth often requires scaling techniques allowing the pipeline to process numerous commits simultaneously without slowdowns.
Some CD pipeline tools let you run tasks in parallel, reducing wait times. Additional features, such as distributed runners and caching, make the process more efficient by reusing dependencies and speeding up build times. With these adjustments, the pipeline remains effective even as the codebase and workload continue growing.
Sustaining the pipeline's performance requires periodic reviews of its steps and configurations. For example, regular evaluations may reveal unnecessary commands or outdated image tags that need updating. Improving test structures and maintaining up-to-date documentation helps ensure the pipeline remains flexible, adapting as the codebase evolves while preserving a clear history of past developments.
Measuring Pipeline Success

A CI/CD pipeline improves quality, but measuring its impact helps teams refine their workflows.
Possible metrics include:
- Build time. Shorter times mean faster feedback.
- Test coverage. Higher coverage indicates well-tested code.
- Deployment frequency. Frequent releases show that the pipeline supports rapid delivery.
- Time to fix failing tests. Quick fixes suggest efficient troubleshooting.
- Security findings. Fewer vulnerabilities indicate a more secure pipeline.
Tracking these metrics helps teams identify areas for improvement. For instance, if builds start to slow down, teams can pinpoint the cause and make performance improvements. If test coverage decreases, it's a sign that more or improved tests are needed to maintain the code quality. Similarly, when vulnerabilities are found, teams can focus on conducting more thorough security scans to keep the pipeline safe. These metrics work together to provide a clear and actionable roadmap for continuous improvement.
Conclusion
Building a CI/CD pipeline starts with selecting the right tools, creating configurations, and setting up essential steps such as builds, tests, and deployments. By gradually introducing complexity, teams establish a reliable process that keeps code stable with every commit.
A well-implemented CI/CD pipeline improves code quality and accelerates releases. Instead of relying on manual inspections, automated feedback identifies issues quickly. Staging environments play a crucial role in allowing teams to test features safely before release. Over time, adding security scans and performance tests helps create a secure CI/CD pipeline, protecting the codebase and enhancing reliability.
This approach transforms the development process. It catches bugs early, enables frequent and smooth releases, and builds team confidence. With thoughtful planning and continuous improvements, the CI/CD pipeline becomes the foundation of a dependable, efficient, and future-ready workflow.