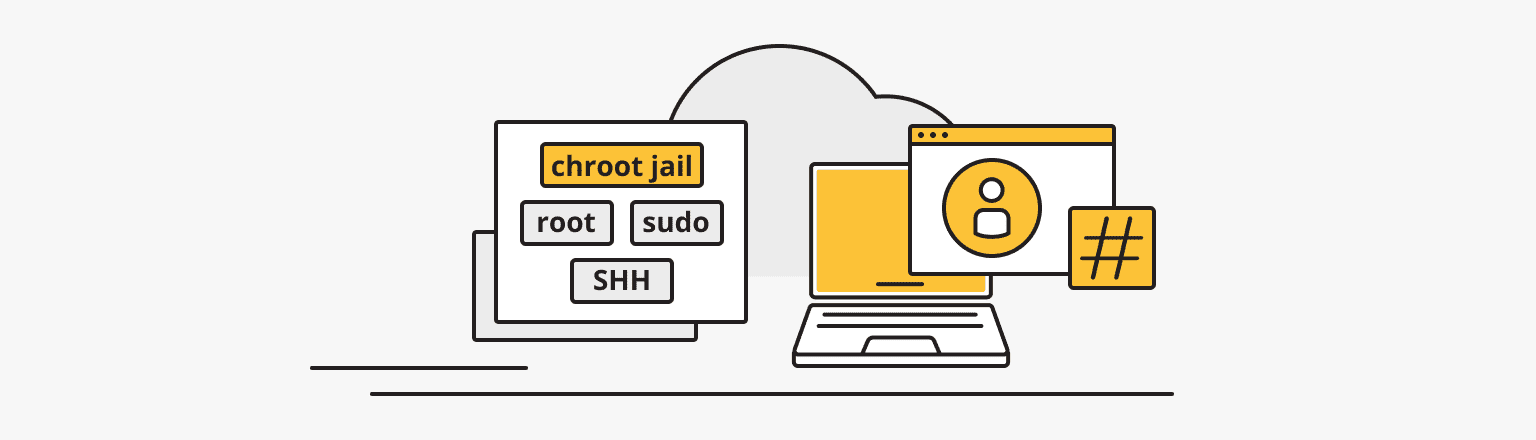
When administering a computer system, you sometimes need to create a new environment, separate from the major system, where the user will see only certain files, can create a test environment for programs or scripts, restore the system, or reinstall the bootloader. Creating such an environment called a chroot jail, helps perform certain tasks outside the major system for its security. In our article today, we will learn what a chroot jail is, how and why it is created, and what additional security methods are used.
What is Chroot Jail and What Is It Used For
Chroot (derived from the phrase "change root") is a command on Unix-like systems that changes the visible root directory to the user-specified one.
Chroot Jail is placing a user in a fake root directory (jail) intentionally created to give the user access to certain commands and permissions.
What are the purposes of using a chroot prison?
The black jail is used to create a small sandbox to start the process (e.g., testing programs or scripts, recovering the system password, etc.). This means that a process cannot maliciously modify information outside the prescribed directory tree to avoid crashing the entire system.
Chroot jails can also replace virtual machines. Kernel-level virtualization uses fewer resources than virtual machines, and users can create multiple separate instances on the same system with this method.
Chroot Jail Setup
There are certain conditions for chroot jail setup:
- A system running a Linux or Unix OS.
- A user’s account with sudo level privileges.
- Terminal/command line access.
All commands are run as the root user. If you are logged into the server as a regular user, use the sudo command.
Create Chroot Jail for SSH
Sometimes it is necessary to allow limited access to users via the ssh protocol. For example, a hosting user may require the ability to make patches directly on the server or download content through secure protocols. In such cases, for the sake of security measures, it is correct to create a chroot prison for SSH, granting access rights to users only to certain directories.
To create a new root directory chroot prison for SSH using the chroot mechanism, follow these steps:
- Open Command Prompt by pressing Windows + R.
- In the dialog window that appears, enter cmd.
- Enter at the command line: # mkdir -p /home/test
- Define the required files according to sshd_config. After authentication, the ChrootDirectory parameter specifies the path to the directory where chroot redirection will occur. The directory must include the files and directories needed to support the user's session. An interactive session requires, at a minimum, a shell, common sh, and basic /dev nodes, such as null, zero, stdin, stdout, stderr, and tty devices:
# ls -l /dev/{null,zero,stdin,stdout,stderr,random,tty} - As shown below, use the mknod command to create /dev files. The following example uses the -m command to grant file permissions, where c stands for a character file and two numbers indicate the major and minor file numbers:
# mkdir -p /home/test/dev/
# cd /home/test/dev/
# mknod -m 666 null c 1 3
# mknod -m 666 tty c 5 0
# mknod -m 666 zero c 1 5
# mknod -m 666 random c 1 8
- Set the appropriate permission for chroot jail. It is important that the root user own the chroot jail, its subdirectories, and subfiles and not any other group or user:
# chown root:root /home/test
# chmod 0755 /home/test
# ls -ld /home/test
Configure Interactive Shell for SSH Chroot Jail
After creating the path to the directory where the chroot redirect will occur, you need to set up an interactive shell for the SSH Chroot Jail.
To start, create a fake copy of the root directory and then move some binaries like bash and ls from the /bin/ directory to the new root directory. To do this, follow these steps:
Firstly, create a bin directory. Then copy the /bin/bash files to the bin directory like this:
# mkdir -p /home/test/bin
# cp -v /bin/bash /home/test/bin/
Then, determine the shared libraries required by bash as shown below and copy them to the lib directory:
# ldd /bin/bash
# mkdir -p /home/test/lib64
# cp -v /lib64/{libtinfo.so.5,libdl.so.2,libc.so.6,ld-linux-x86-64.so.2} /home/test/lib64/
Create and Configure SSH User

If a root user with his own access works on the site, then you will need to create a new user to work with the site. You cannot work as the root user. Every time you add new SSH users to the system, you will need to copy the updated account files to the /home/test/etc directory. To create and configure an SSH user, follow these steps:
- Create an SSH user using the useradd command and set a secure password for the user:
# useradd username
# passwd password
- Create a chroot jail shared configuration directory /home/test/etc and copy the updated account files (/etc/passwd and /etc/group) to this directory as:
# mkdir /home/test/etc
# cp -vf /etc/{passwd,group} /home/test/etc/
Configure SSH to Use Chroot Jail
Setting up SSH to use a chroot jail is easy to do by running the following commands:
- Open the sshd_config file:
# vi /etc/ssh/sshd_config - Add/change the lines below in the file:
#define username to apply chroot jail to
Match User username
#specify chroot jail
ChrootDirectory /home/test
- Save the file, exit, and restart SSHD services:
# systemctl restart sshd
or
# service sshd restart
Create the SSH User’s Home Directory and Add Linux Commands
If, when checking the operation of the chroot jail, you realize that the SSH user is locked and cannot run any external commands (ls, date, uname, etc.), but only executes bash and its built-in commands, such as pwd, history, echo etc.
Example:
# ssh [email protected]
-bash-4.1$ ls
-bash-4.1$ date
-bash-4.1$ username
Create the SSH user's home directory and add the required commands.
Directories are created using a command like mkdir directoryname, where the command name is an abbreviation for make directory.
- To create a home directory for the SSH user, run the following commands:
# mkdir -p /home/test/home/username
# chown -R username:username /home/test/home/username
# chmod -R 0700 /home/test/home/username
- Run some custom commands like ls, date, mkdir in bin directory:
# cp -v /bin/ls /home/test/bin/
# cp -v /bin/date /home/test/bin/
# cp -v /bin/mkdir /home/test/bin/
- Check the shared libraries for the commands from the previous step and move them to the chrooted jail libraries directory:
# ldd /bin/ls
# cp -v /lib64/{libselinux.so.1,libcap.so.2,libacl.so.1,libc.so.6,libpcre.so.1,libdl.so.2,ld-linux-x86-64.so.2,libattr.so.1,libpthread.so.0} /home/test/lib64/
SFTP Check with Chroot Jail
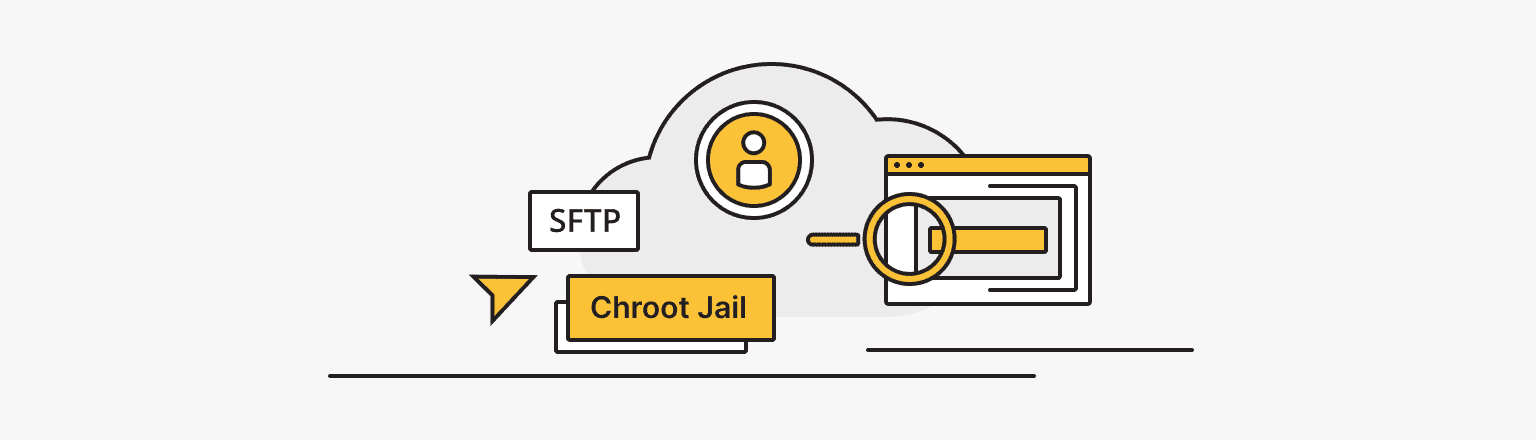
To do a final test with sftp and see if the commands you just installed work, follow these steps:
- Add the following line to the /etc/ssh/sshd_config file:
#Enable sftp to chrooted jail
ForceCommand internal-sftp - Save the file and exit. Then restart SSHD services:
# systemctl restart sshd
or
# service sshd restart
- Check using SSH (As a result, you will receive an error message):
# ssh [email protected] - Also, try using SFTP like this:
# sftp [email protected]
Additional Security Techniques
When you log into the server, you are usually taken to your account's home directory, which is reserved for storing files and creating directories in a directory that requires the necessary protection and restriction of access. Besides creating a chroot jail, there are additional effective security measures discussed in the following sections.
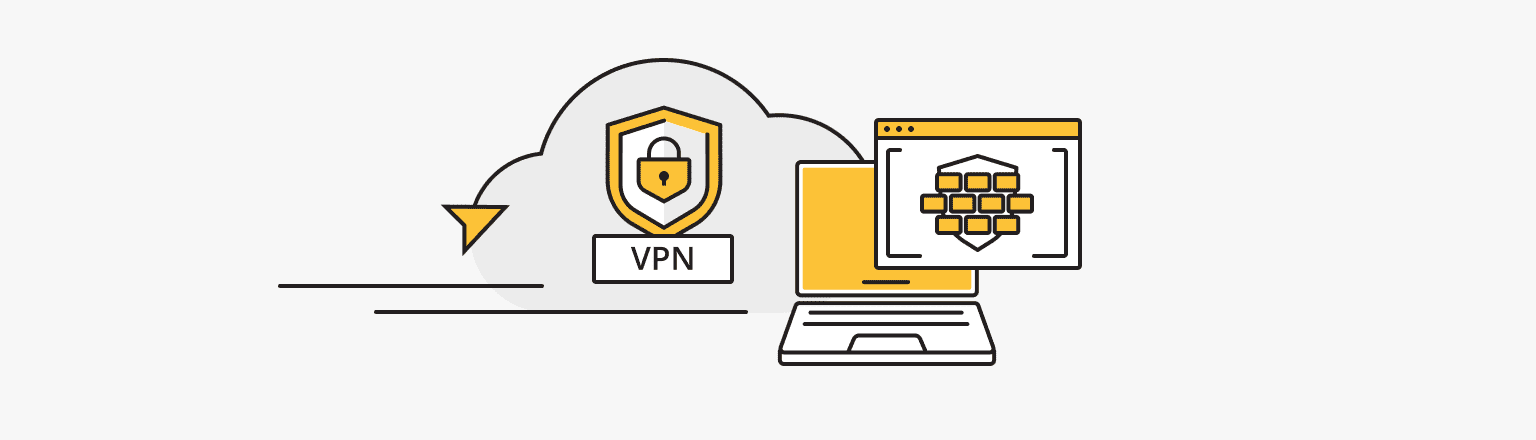
Restricting Network Access Using Firewalls
If you have a router, you can use it to restrict programs from accessing the Internet. To do this, you need to go into the settings of your built-in or installed firewall and add restrictions for each program that you want to restrict. And VPN will help expand the functionality of firewalls. You can learn about the main types and operating principles of firewalls in our article Web Fortress: Understanding the Importance of Firewall.
Personal VPN
This is for those who want to remain undetected online and secure their data. Dedicated IP and complete anonymity.
Using Linux Features to Reduce Privileges
Linux has very limited rights for the average user. It can only control its own directory and open specific files from the root for reading. Superuser privileges are vital when configuring the OS and solving various problems because they are not available to change or install programs.
On Linux distributions, gaining user privileges requires granting root access. Such rights allow you to perform necessary actions in the root directory, easily manipulate the system, and expand the functionality of the OS. Here, additional protection of the system is necessary to prevent accidental changes that may be made by other computer users. Using special tools to reduce privileges is another effective way to protect and keep your system secure.
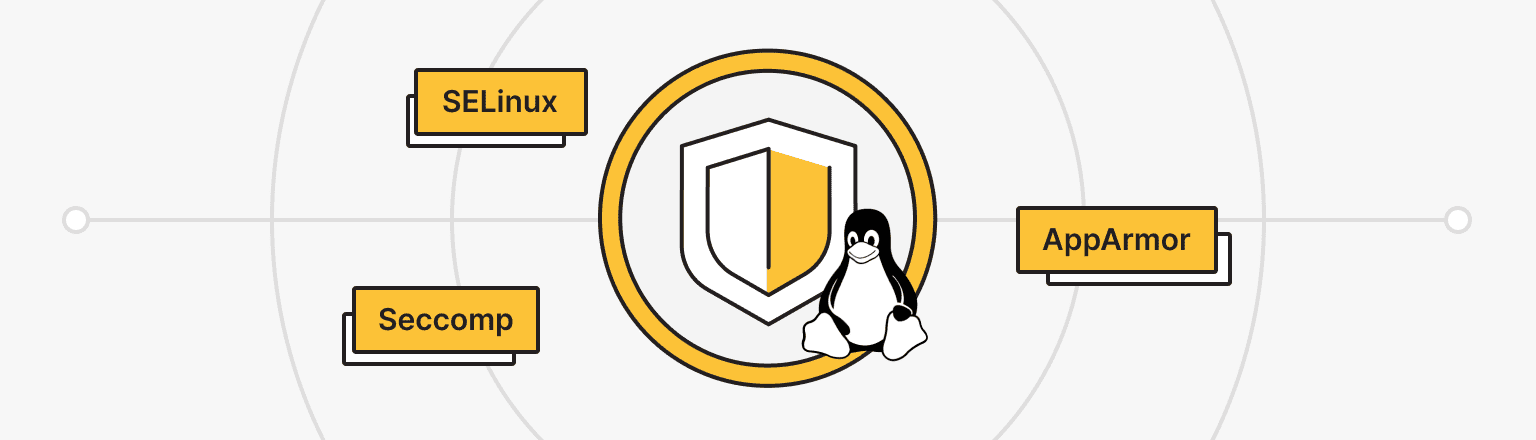
Seccomp
Recently, containers, specially dedicated environments reminiscent of sandboxes, but representing a more universal technology, are increasingly being used to run unsafe programs. Special mechanisms are used to increase the security level of such modern containerization tools, one of which is Seccomp.
Seccomp (secure computing mode) is a secure computing mode, a feature of the Linux kernel, to limit the actions available in a container (for example, limiting your application's access).
Seccomp allows you to run Docker containers with minimal privileges, where important system calls are blocked by the default profile. The default Seccomp profile disables about 44 of the 300+ system calls found on modern 64-bit Linux systems and provides reasonable default behavior for running containers with Seccomp. The default Seccomp profile in Docker is a list of allowed calls and blocks calls not on that list, such as manipulations and functions on kernel modules (create_module, delete_module, init_module or finit_module), using containers with a kernel that has no name (add_key) etc.
Default Seccomp profiles are a useful innovation because they limit the capabilities of attackers and reduce the likelihood of attacks. However, this is clearly not enough since many unblocked problems have weak points, and it is simply impossible to block all potentially dangerous calls. Despite its moderate security, it offers broad compatibility with various applications.
SELinux
SELinux is not only an access control system at the kernel level but also a universal solution that can effectively cope with many current tasks.
SELinux quickly became the de facto standard for secure Linux environments and was included in the most common RedHat Enterprise Linux distributions, Fedora, Debian, and Ubuntu.
SELinux works based on the terms:
- Domain is a list of actions that can be performed (relative to processes).
- Role is a list of domains that can be applied.
- Type is a list of actions that can be performed (relative to directories and files).
- Security context is about roles, types, and domains.
SELinux has three major modes of operation:
- Enforcing (default). All actions except those allowed are blocked, and attempts at prohibited actions are recorded in the log. The user receives only those privileges that are necessary for work. Enforcing is a strict mode that can be replaced with the other two options.
- Permissive. Violations are also recorded in the log but are not blocked.
- Disabled. The forced access control system is disabled.
The advantage of such a strict SELinux policy is that it provides the highest level of information security, but configuring the system in this mode requires a lot of effort from system administrators, and there is a risk of restricting user access, which is the principal disadvantage of SELinux. In the face of such restrictions and risks, many administrators choose to disable SELinux on their workstations to avoid risks and problems.
To prevent this, critical applications and services such as httpd, named, dhcpd, and mysqld have configured targeted policies that prevent attackers from gaining access to valuable data. Applications that do not have a policy set run in the unconfined_t domain and are not protected by SELinux. Thus, correctly selected target policies can provide acceptable security without creating additional problems for the user.
SELinux includes all the necessary components to protect Linux operating systems and applications from unauthorized access, but because of its complexity, it makes it impractical.
AppArmor
How secure is Linux with AppArmor?
Apparmor is a third security model that allows access control to be tied to programs rather than users. AppArmor provides isolation through profiles loaded into the kernel, typically at boot. This system also operates in mixed modes:
- Enforce. The kernel enforces the rules contained in the profile file. Violations will not be tolerated, and a corresponding entry will be made to the account.
- Complain. Work in warning mode: registers violations without blocking the actions themselves.
AppArmor complements the traditional Unix Discretionary Access Control (DAC) model by providing Mandatory Access Control (MAC) with a path-based approach based on the Linux Security Modules (LSM) architecture. It has been included in the main Linux kernel since version 2.6.36, and Canonical has supported its development since 2009.
AppArmor is an effective and easy-to-use Linux application security system. AppArmor protects the operating system and applications from threats, ensuring good behavior and preventing the exploitation of known and unknown application flaws, unlike Seccomp. And, in order to facilitate development, AppArmor uses nested files and has a lower barrier to entry than SELinux, which is extremely impractical because of its complexity.
Conclusion
Most services running on the system can see the structure of the server's file system. This is not safe for information stored on the server. In order to prevent the theft of confidential information, chroot jail methods were developed. Setting up a chroot jail along with the necessary resources to run commands and processes in the new root directory, as well as innovative mechanisms for securing the Linux kernel, helps to audit effectively and securely administer the system.
24/7 Support
Rely on us. is*hosting technical support is available 24/7 and does not ignore customers.
Read More