Most self-hosted AI tools make you choose between features and sanity. Odysseus is an exception. It's a full workspace running on your own server: chat, agent mode, deep research, email triage, calendar, documents, and persistent memory, all pointed at whatever model you choose. This guide covers the full setup on a Linux VPS from scratch.
What Odysseus Does and Where It Falls Short
Odysseus is open-source software built for people who want the ChatGPT or Claude experience without handing data to either company. You own the server, you pick the models, and nothing leaves your infrastructure by default.
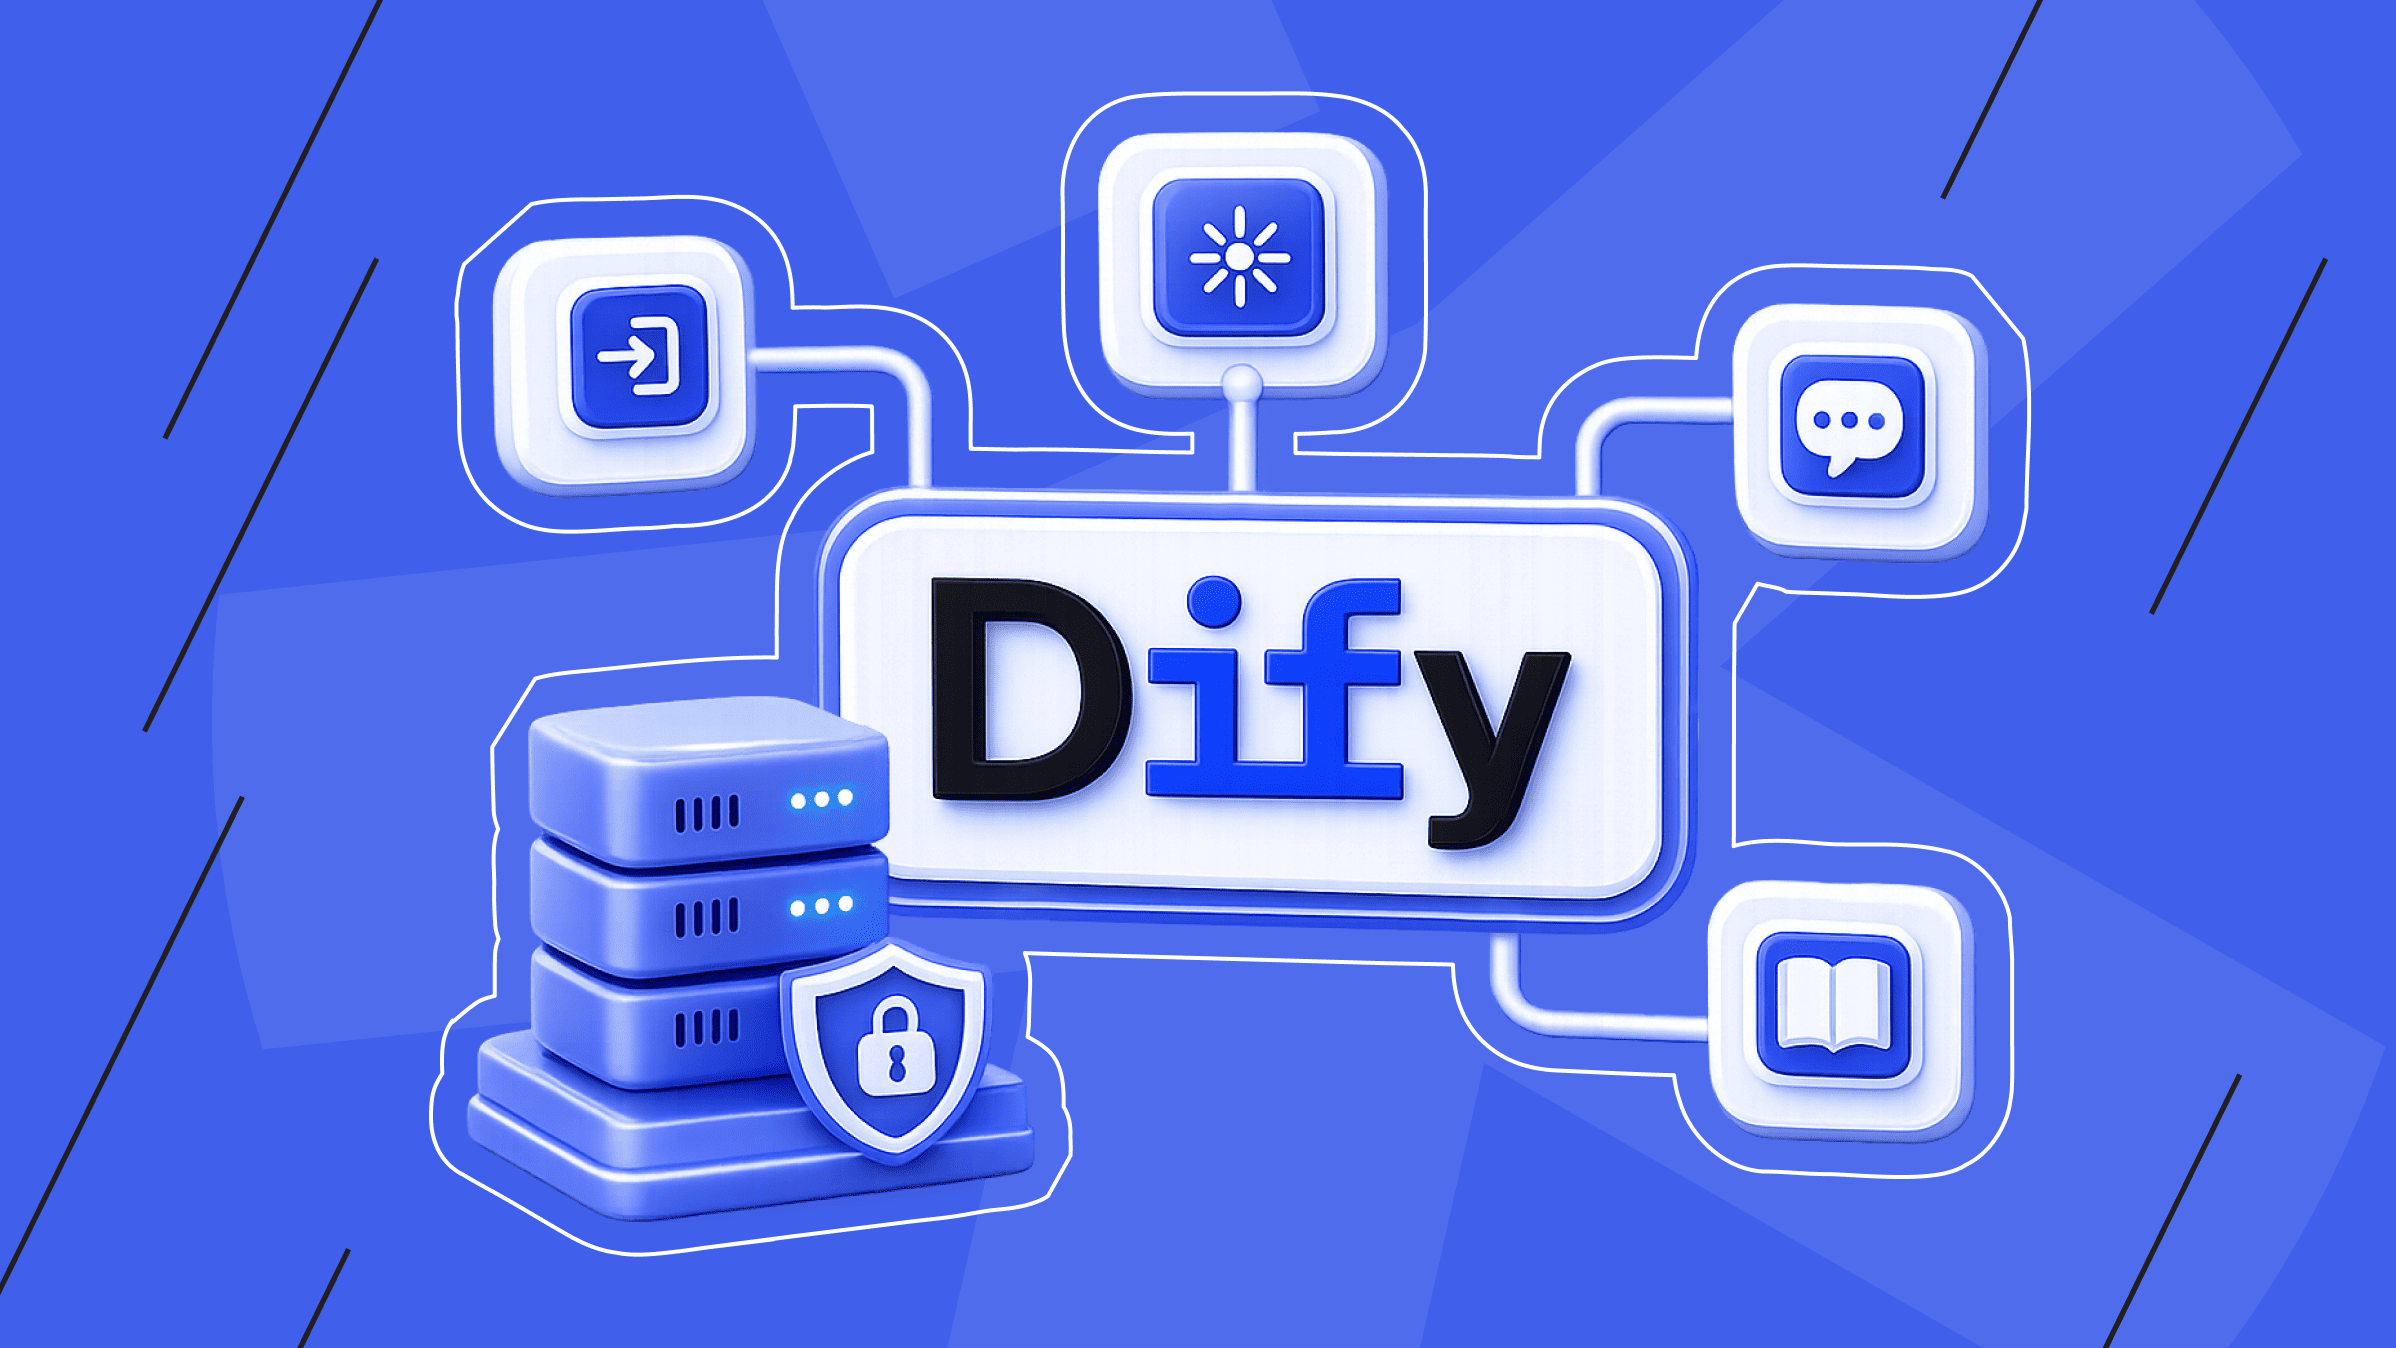
Chat works with Ollama, OpenRouter, OpenAI, vLLM, llama.cpp, and GitHub Copilot. Agent mode adds real tools: web search through a bundled SearXNG instance, shell access, file handling, MCP servers, and persistent skills you write yourself. Deep Research runs multi-step research jobs adapted from Alibaba's Tongyi DeepResearch and produces a visual report. There's also a blind model comparison tool, a multi-tab document editor, an IMAP/SMTP email client with AI triage, and a calendar with CalDAV sync to Radicale, Nextcloud, Apple, and Fastmail.
This is software in active development. The README says so explicitly. Rough edges exist, and the usual fix is docker compose restart plus a look at the logs.
Why Jurisdiction Matters for a Private AI Workspace
The whole point of self-hosting Odysseus is to keep your data away from third-party servers. But "self-hosted" only means so much if you don't also control where that server physically sits.
With is*hosting, you pick from 40+ locations across North America, Europe, Asia, and beyond, all under a single billing account. That means you can run your AI workspace in a jurisdiction you trust, close to where you actually work, without spinning up accounts with multiple providers. For anyone handling client work or sensitive documents, this is a direct argument for VPS over a managed AI service.
What You'll Need
- A VPS running Ubuntu 22 or 24
- SSH access with root or sudo
- Docker and Docker Compose
- Git
- A domain name (optional, but useful for HTTPS)
Which Plan Do You Need?
|
Use Case |
Min. RAM |
is*hosting Plan |
|
Chat only via remote API |
2 GB |
Start VPS ($10.19/mo annual) |
|
Agent mode + browser tool |
2 GB |
Start VPS ($10.19/mo annual) |
|
Heavy Deep Research runs |
3–4 GB |
Medium VPS ($21.24/mo annual) |
|
Local LLM on the same box |
16 GB+ |
Custom / GPU plan |
The Start plan (2 vCPU / 2 GB RAM / 30 GB NVMe) covers everything in this guide comfortably. The Lite plan (1 GB RAM) won't work: ChromaDB alone will push it over. Running a local model on the same machine as Odysseus is a separate conversation that needs hardware this guide doesn't cover.
One more thing worth saying upfront: Deep Research and the Playwright browser tool both make real outbound HTTP requests, sometimes dozens per task. On a hyperscaler, that translates to egress charges that add up quietly. is*hosting's traffic is unmetered from the Medium plan and predictably priced on smaller ones, so there are no surprise bills from a research-heavy session.
Docker isn't pre-installed on is*hosting VPS plans, but root SSH access is included on all plans. Setup takes about two minutes and is covered in Step 2.
VPS
Run your self-hosted AI workspace on a fast, reliable VPS. 40+ locations, unmetered traffic from the Medium plan, and root SSH access on all plans.
Step 1: Connect to Your VPS
On Mac or Linux:
ssh root@YOUR_VPS_IPOn Windows, use PowerShell or grab Tabby. Type yes at the fingerprint prompt, paste your password (it won't show on screen), and you're in when you see root@hostname:~#.
Step 2: Install Docker and Configure the Firewall
docker --versionIf that returns nothing, install it:
curl -fsSL https://get.docker.com | shVerify both tools:
docker --version
docker compose version
If docker compose fails, you may have an older install with the standalone docker-compose binary. Use that in its place throughout this guide.
Set up UFW. By default, Docker bypasses UFW rules and exposes container ports directly to the internet. Lock that down before you go further:
apt install -y ufw
ufw default deny incoming
ufw default allow outgoing
ufw allow ssh
ufw allow 80/tcp
ufw allow 443/tcp
ufw enable
This keeps SSH, HTTP, and HTTPS open while blocking everything else. The Odysseus app itself binds to 127.0.0.1 by default, so its port (7000) stays internal, but the bundled services (SearXNG on 8080, ntfy on 8091, ChromaDB on 8100) should never be directly reachable from outside the server.
Step 3: Clone and Configure
git clone https://github.com/pewdiepie-archdaemon/odysseus.git
cd odysseus
The repo defaults to dev, which can be unstable. For a production server, switch to main:
git checkout mainThen copy and edit the config:
cp .env.example .env
nano .env
Key values to set:
APP_BIND=127.0.0.1                              # keep on loopback
APP_PORT=7000                                   # change if taken
AUTH_ENABLED=true                               # leave this on
ODYSSEUS_ADMIN_PASSWORD=your_strong_password    # optional pre-seed
SECURE_COOKIES=true                             # add if using HTTPS
Save with Ctrl+X, Y, Enter.
Step 4: Start Odysseus
docker compose up -d --buildThis builds four containers: Odysseus, ChromaDB, SearXNG, and ntfy. The first build takes 3–5 minutes.
docker compose logs -f odysseusWhen you see Uvicorn running on http://0.0.0.0:7000, it's up. Hit Ctrl+C to stop following logs. Check that everything started cleanly:
docker compose psAll four should show running or healthy. SearXNG's health check can take up to 30 seconds on first boot.
Once everything is up, check the actual memory usage:
docker stats --no-streamAt idle on a fresh install, you should see something roughly like this:
|
Container |
Idle RAM |
|
odysseus |
~180–250 MB |
|
chromadb |
~100–120 MB |
|
searxng |
~60–80 MB |
|
ntfy |
~15–25 MB |
|
Total |
~355–475 MB |
ChromaDB's idle footprint has been independently measured at around 104 MB with an empty collection. It grows as you accumulate memories. Your actual numbers will vary by image version, but this gives you a baseline to compare against. If any container is using significantly more than these ranges at idle, check its logs first.
Step 5: Get Your Admin Password and Log In
Odysseus creates an admin account on first boot and prints a one-time password in the startup output:
docker compose logs odysseus | head -50Copy it, log in, and change it immediately in Settings.
Step 6: Expose Odysseus
Odysseus binds to 127.0.0.1:7000 by default. There are two ways to reach it:
SSH tunnel (for testing) — from your local machine:
ssh -L 7000:127.0.0.1:7000 root@YOUR_VPS_IPOpen http://localhost:7000. Traffic stays inside SSH.
Caddy reverse proxy (for regular use):
apt install -y caddy
nano /etc/caddy/Caddyfile
your.domain.com {
reverse_proxy 127.0.0.1:7000
}systemctl restart caddyCaddy handles Let's Encrypt automatically. Point your domain's A record at the VPS IP, and you're done.
Step 7: Connect a Model Provider
Go to Settings and add a provider. For a server with no local GPU, OpenRouter is the practical choice: hundreds of models, several free tiers, pay-per-use pricing that scales from $0 to a few dollars a month for typical personal use. Free models are rate-limited to roughly 20 requests per minute and don't include vision. If you're running heavy Deep Research sessions daily, budget $5–10/month on a paid model like Claude Haiku or Gemini Flash.
- OpenRouter: https://openrouter.ai/api/v1 with your key from openrouter.ai/keys
- OpenAI: https://api.openai.com/v1
- Ollama on another machine: http://your-ollama-host:11434/v1
Send a test message to confirm that it works.
Features That Need a Manual Unlock

The Browser Tool Needs One Command to Unlock
There's a built-in browser MCP server powered by Playwright that lets the agent navigate real web pages, take screenshots, and interact with UIs rather than just parsing HTML. It's skipped at startup by default because it requires the npm package to be cached first. Run this once on the server:
npx -y @playwright/mcp@latest --versionThat's about 300 MB, including browser binaries. Restart Odysseus, and the browser tool registers automatically. It runs headless with vision enabled.
Claude Code Can Talk to Your Odysseus Instance
Buried under integrations/ in the repo is a scoped API that lets Claude Code or Codex read and write your workspace: todos, email, calendar events, documents, and memory. Generate a token under Settings > Integrations, add a Claude Agent, and follow the setup commands it gives you. Everything is scope-gated server-side, so the coding agent only touches what you explicitly toggle on.
Outlook Email Won't Work
Gmail, Fastmail, and anything with app-password support connect fine. Outlook and Microsoft 365 don't. Microsoft disabled basic IMAP/SMTP auth on most accounts, and Odysseus doesn't support OAuth yet. You'll get error 535 5.7.139 Authentication unsuccessful, with no current workaround.
Updating and Backups
cd odysseus && git pull && docker compose down && docker compose up -d --buildData lives in ./data/, bind-mounted into the container, so it survives rebuilds. Back up the database before major updates:
cp ~/odysseus/data/app.db ~/odysseus/data/app.db.bakis*hosting includes free weekly backups on all VPS plans. Those cover the full server. A targeted DB copy is faster to restore if something goes wrong after an update.
Troubleshooting
SearXNG stays unhealthy. There's a known startup crash in the 2026.6.2 image. Odysseus pins a working version, but an old clone might not have it. Pull the latest and retry. Check with:docker compose logs searxng | tail -20
ChromaDB crashes. It needs around 100–120 MB to start. On a 1 GB server, it may OOM with other services competing. Odysseus starts without it, but memory and vector search stop working. Check with:docker compose logs chromadb | tail -20
Memory features show as degraded. If ChromaDB or SearXNG didn't come up cleanly, Odysseus falls back silently. Check:
docker compose logs odysseus | grep -E 'ChromaDB|MemoryVectorStore|DEGRADED'Port 7000 taken. Set APP_PORT=7001 in .env, then:docker compose down && docker compose up -d
VPS
Deploy Odysseus on a VPS with root access, unmetered traffic, and 40+ server locations.
What You've Got Running
Odysseus takes under 20 minutes to set up on any Linux VPS. At this point, you have a self-hosted AI workspace with persistent memory, real browser automation, deep research, email triage, and a scoped API your other tools can connect to — all hosted in whichever jurisdiction you chose.
A few directions worth exploring once you're comfortable with the basics:
- Add custom skills by dropping markdown files into the skills directory. The agent picks them up automatically and can reference them in future sessions.
- Connect your email under Settings. Gmail and Fastmail work out of the box. AI triage, auto-tagging, and draft replies come with it.
- Try the Cookbook if you have access to a machine with a GPU. It scans available hardware, recommends compatible models, and handles download and serving in a few clicks.
- Hook up external automation via the n8n integration. is*hosting has a ready-to-deploy n8n VPS that spins up in under 15 minutes and pairs naturally with Odysseus for scheduled tasks and workflow triggers.
If you still need a server, is*hosting VPS plans start at $10.19/mo for the Start plan on annual billing. That covers everything in this guide.