
Following the instructions, you can host a website on a VPS in one day, and without using the command line - the setup can be done through an easy-to-use web interface. Even if you are a beginner webmaster and do not want to involve a system administrator in this process, you can easily cope with the configuration. Setting up VPS may seem difficult, but all you need to do is follow our steps.
Why choose a VPS for your website? For 10$/month you get the same features as a dedicated server. How many websites can you host on a VPS? You can work with up to 10 websites without downtimes.
We used the following tools as an example in this article:
- VPS Lite in the USA
- OS: CentOS 8 x64
- Control Panel: ISP Manager
- CMS: WordPress 6.0
1. VPS for a Website: Hosting Settings
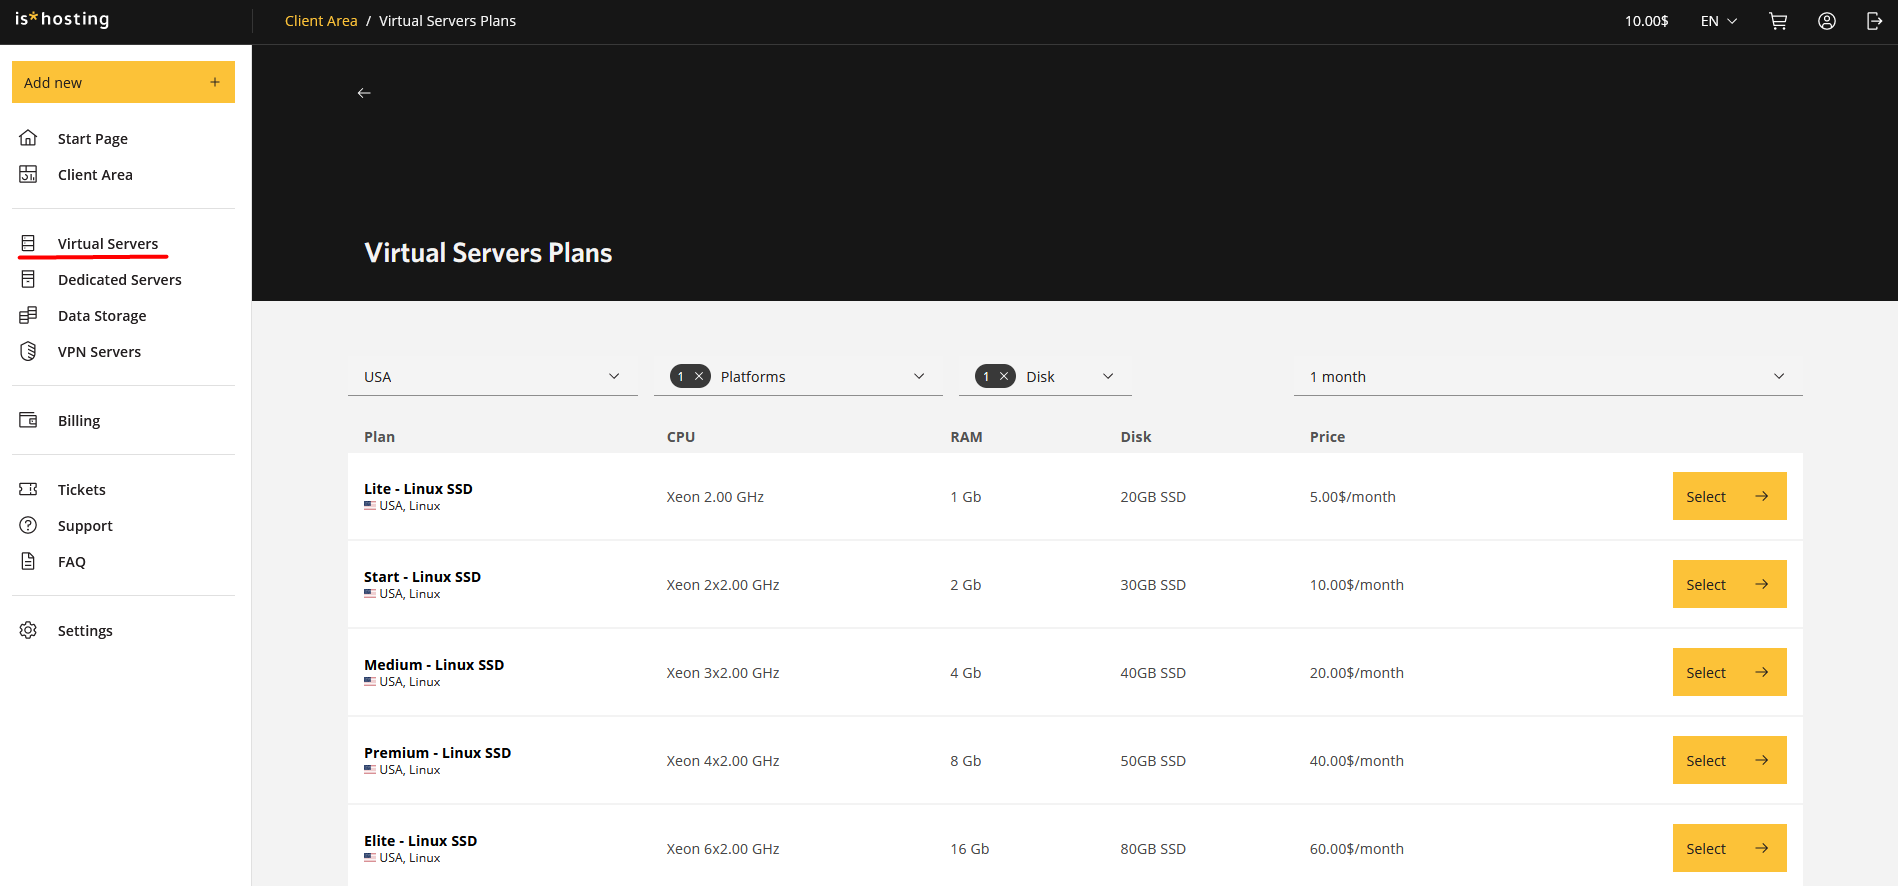
1.1 In my client area, choose the appropriate region, size, configuration, and platform of your server. We recommend choosing the server configuration based on the growth of your project, and a location depending on the location of your target audience. To do this, select the "Add new" option and choose "Virtual Server". Then click "Select" for the appropriate plan.Then click "Select".
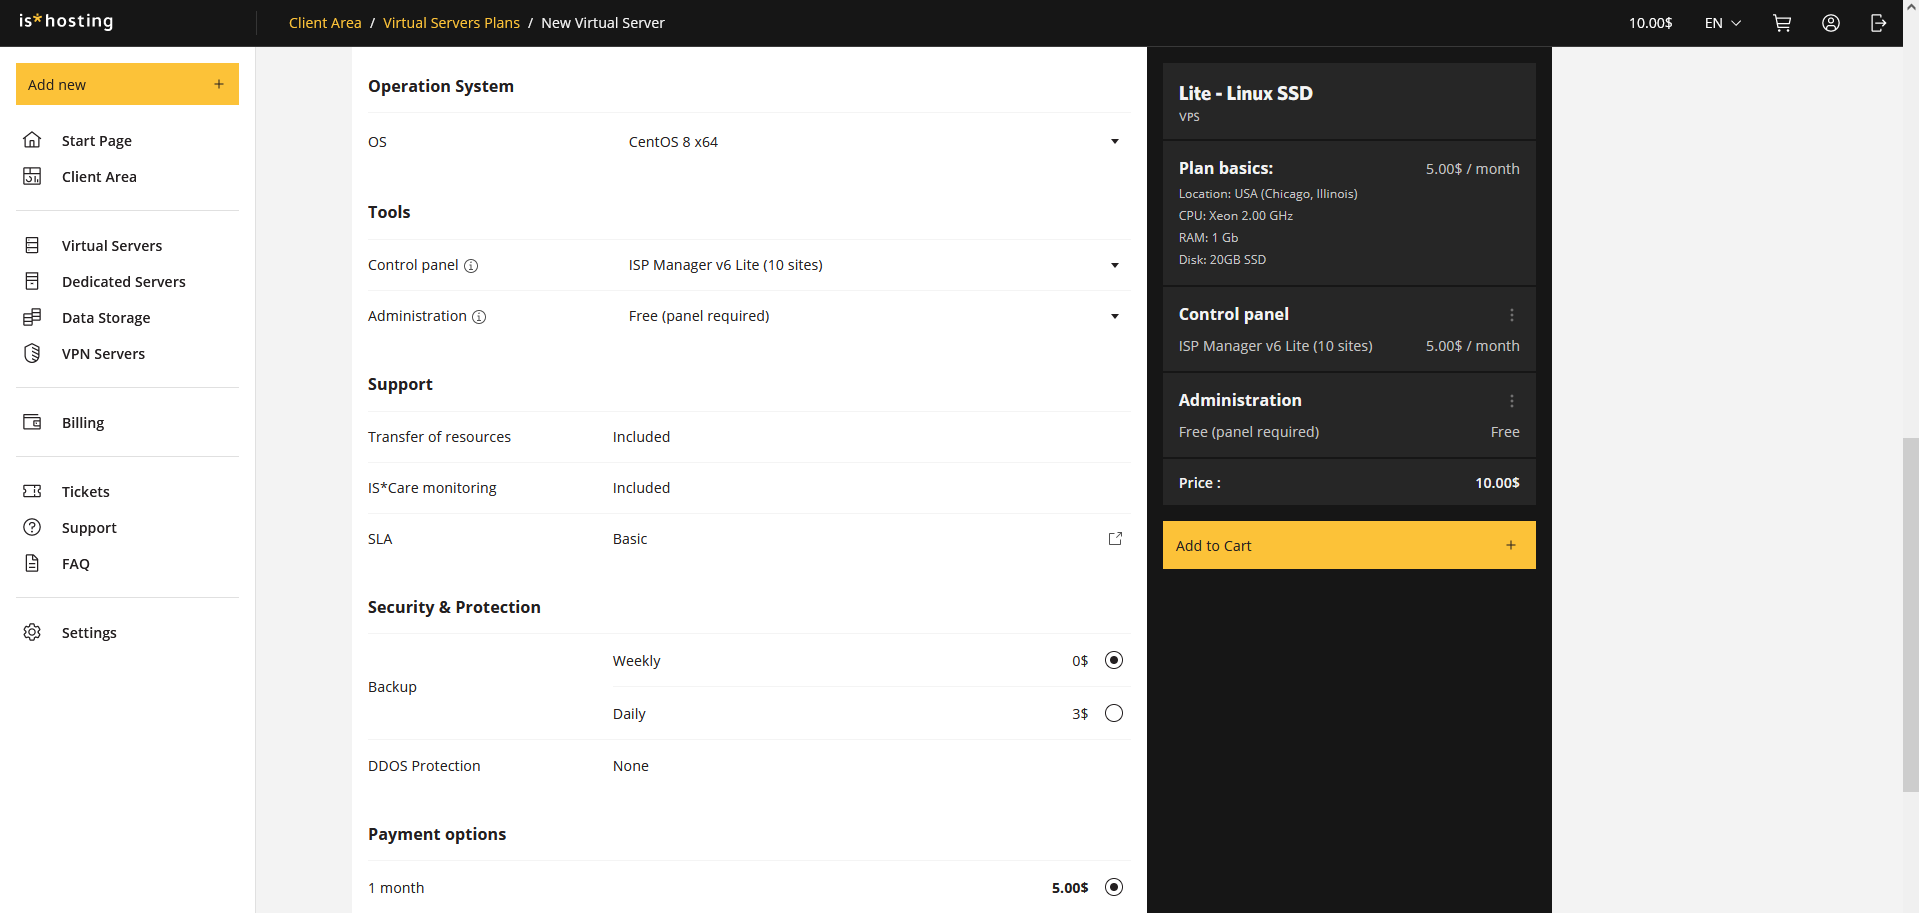
1.2 In the configuration of the virtual private server, set the following parameters:
- OS: CentOS 8 x64
- Control Panel: ISP Manager v6 Lite (10 sites)
- Administration: Free (panel required).
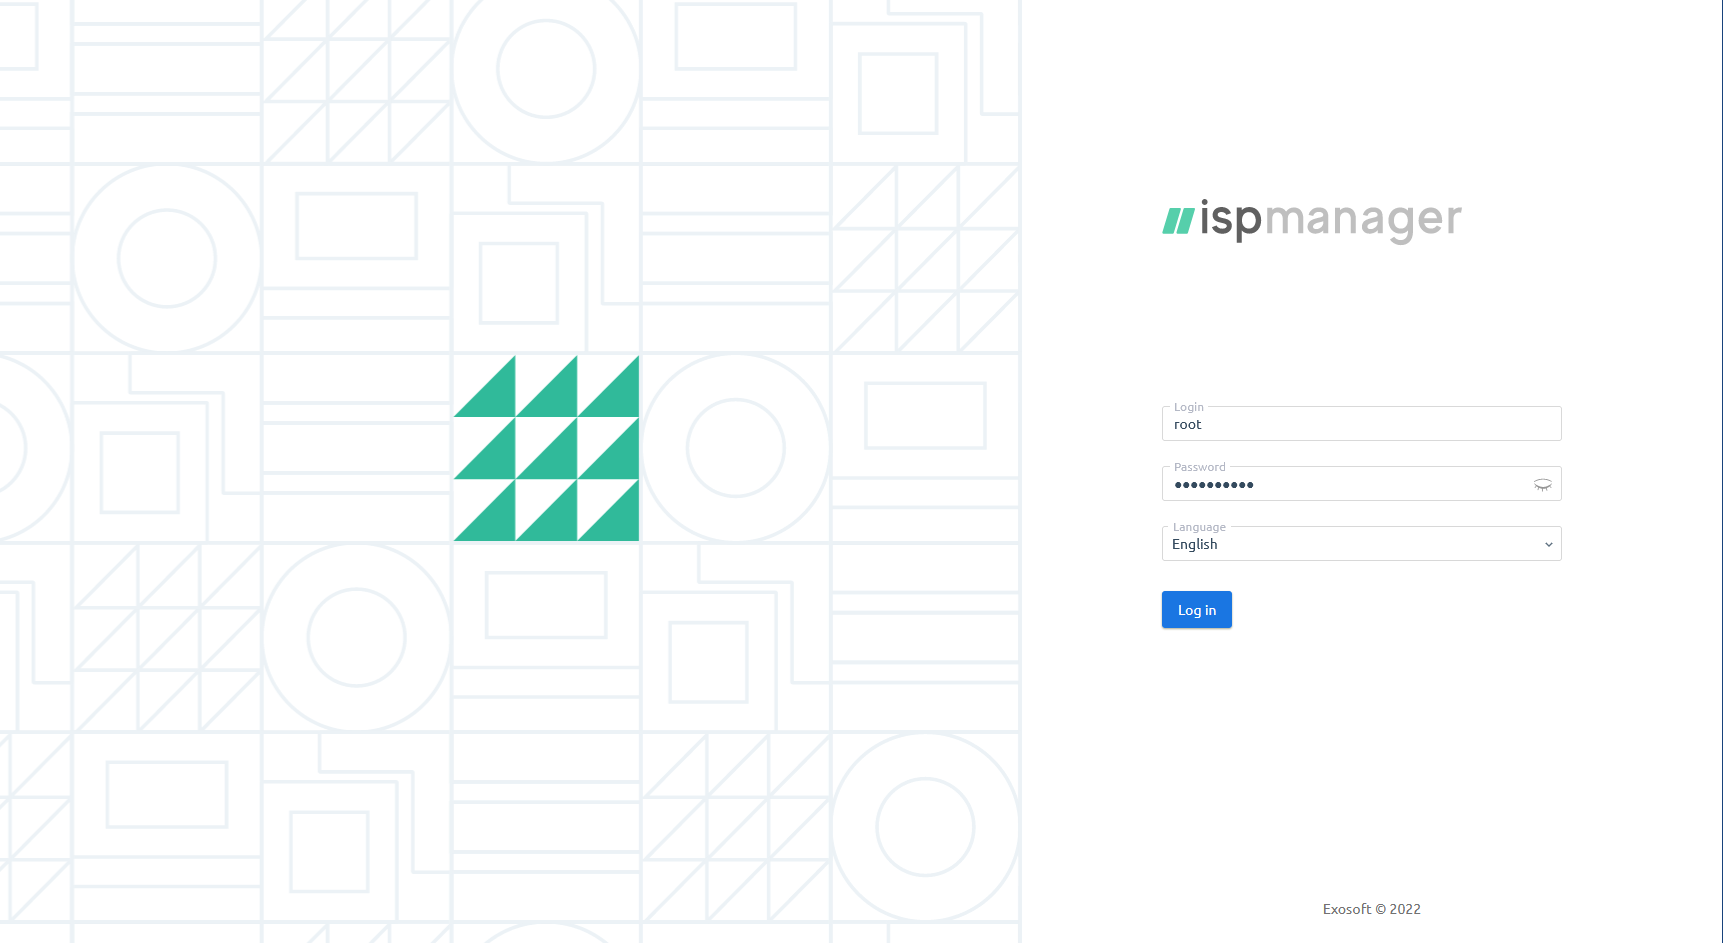
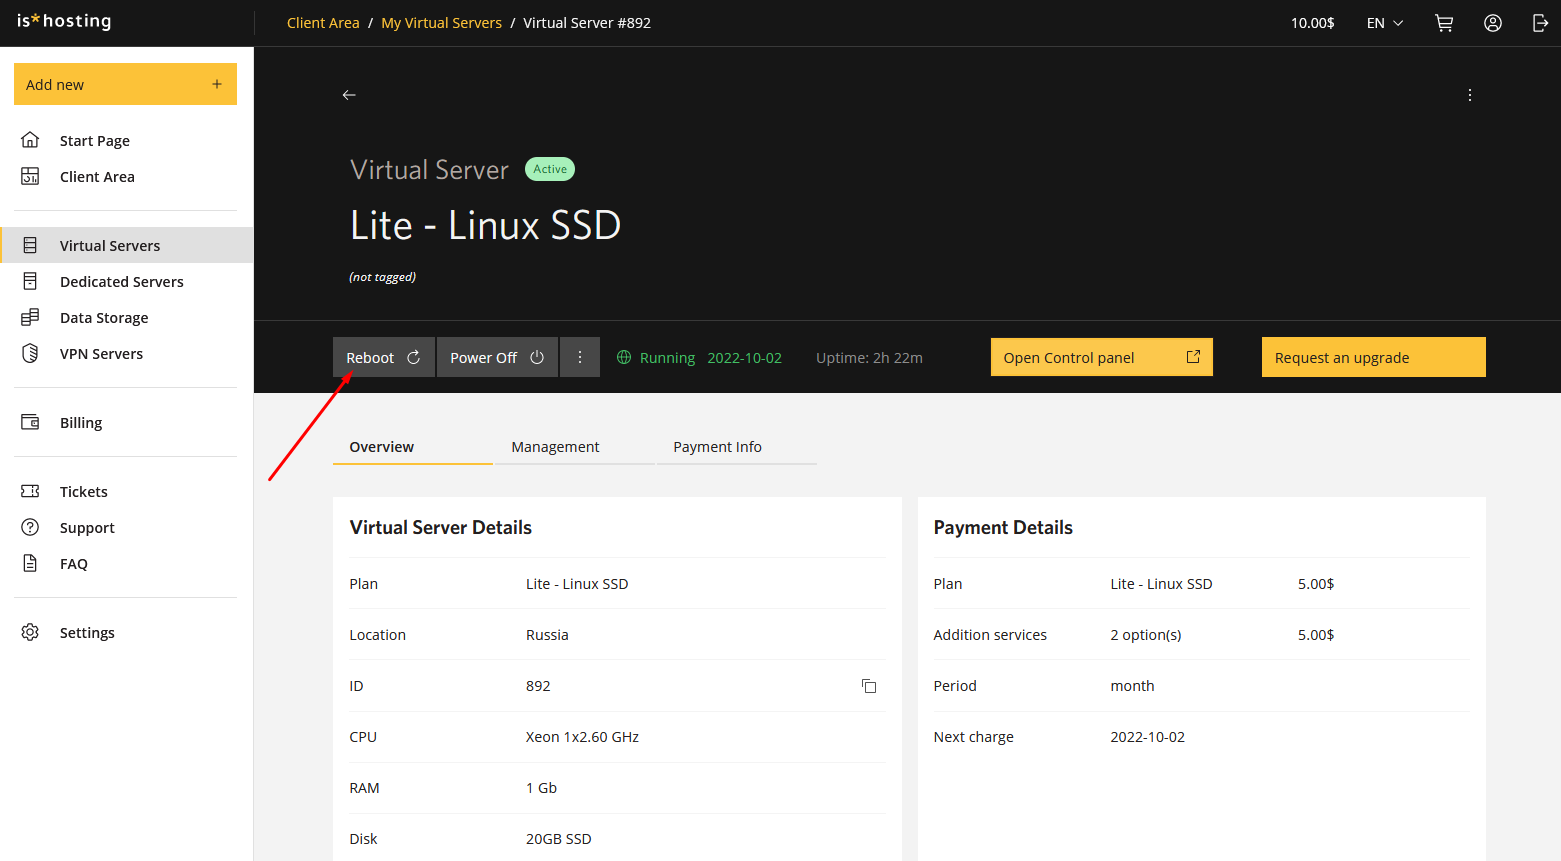
1.3 After you activate the server, an email with the special link will be sent to the email address you specified. Follow this link to the ISP control panel and log in using the username and password provided in the email. Also, you can choose the language of the ISP Manager.
2. Creating a New User in the ISP
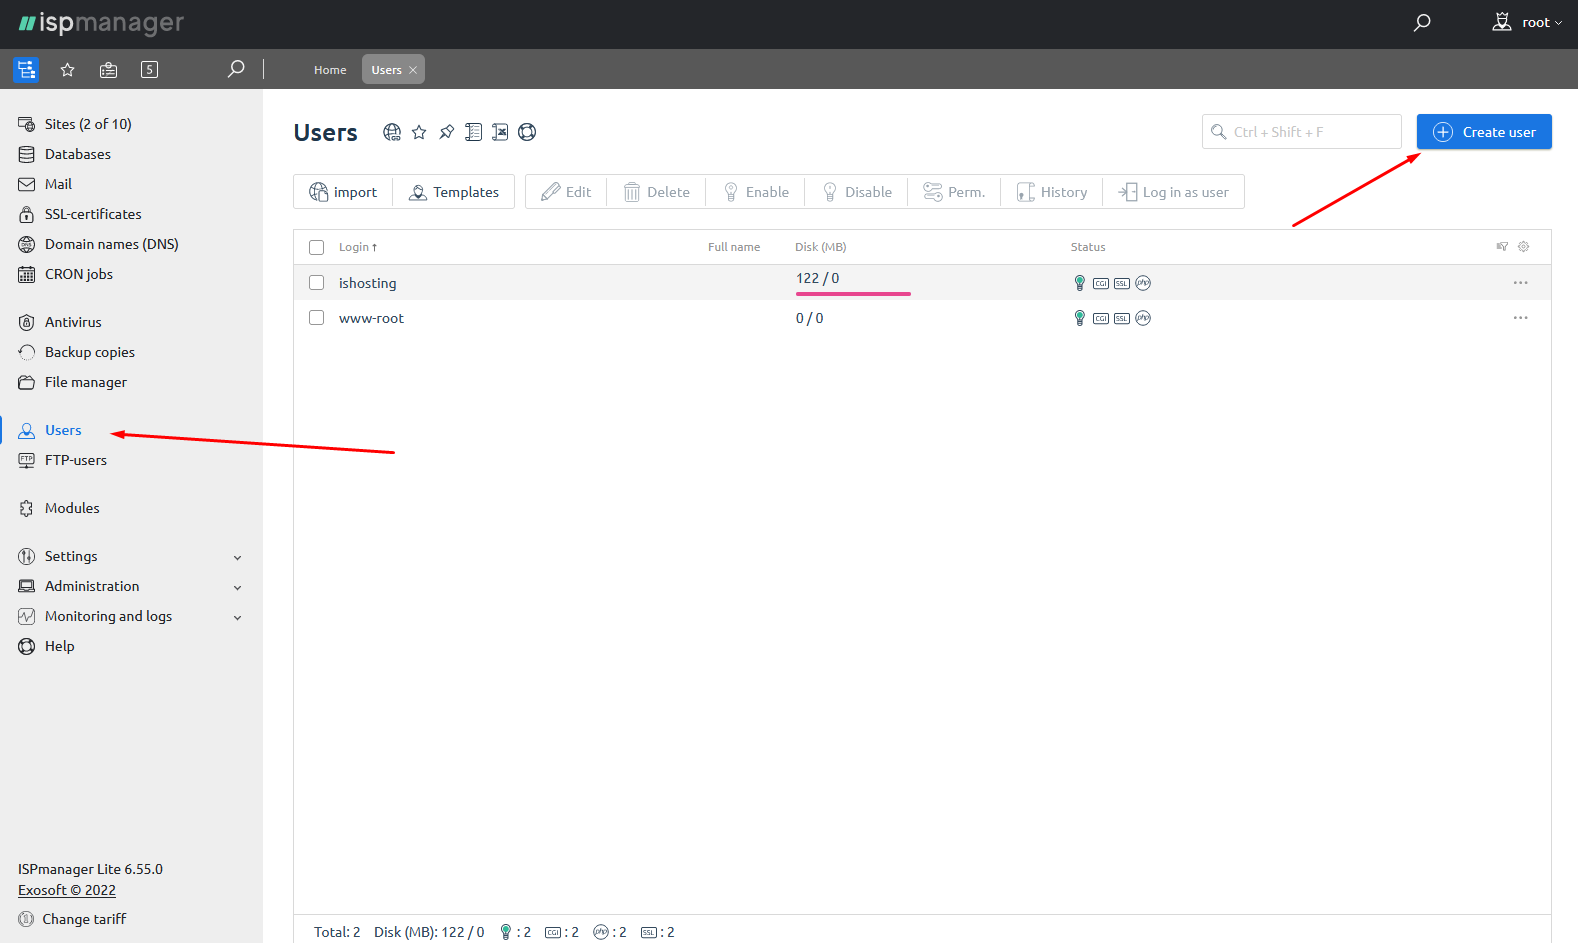
2.1 After successfully logging in to ISP control panel (ISP Manager), you must specify the user name and password via "Users" → "Create user".
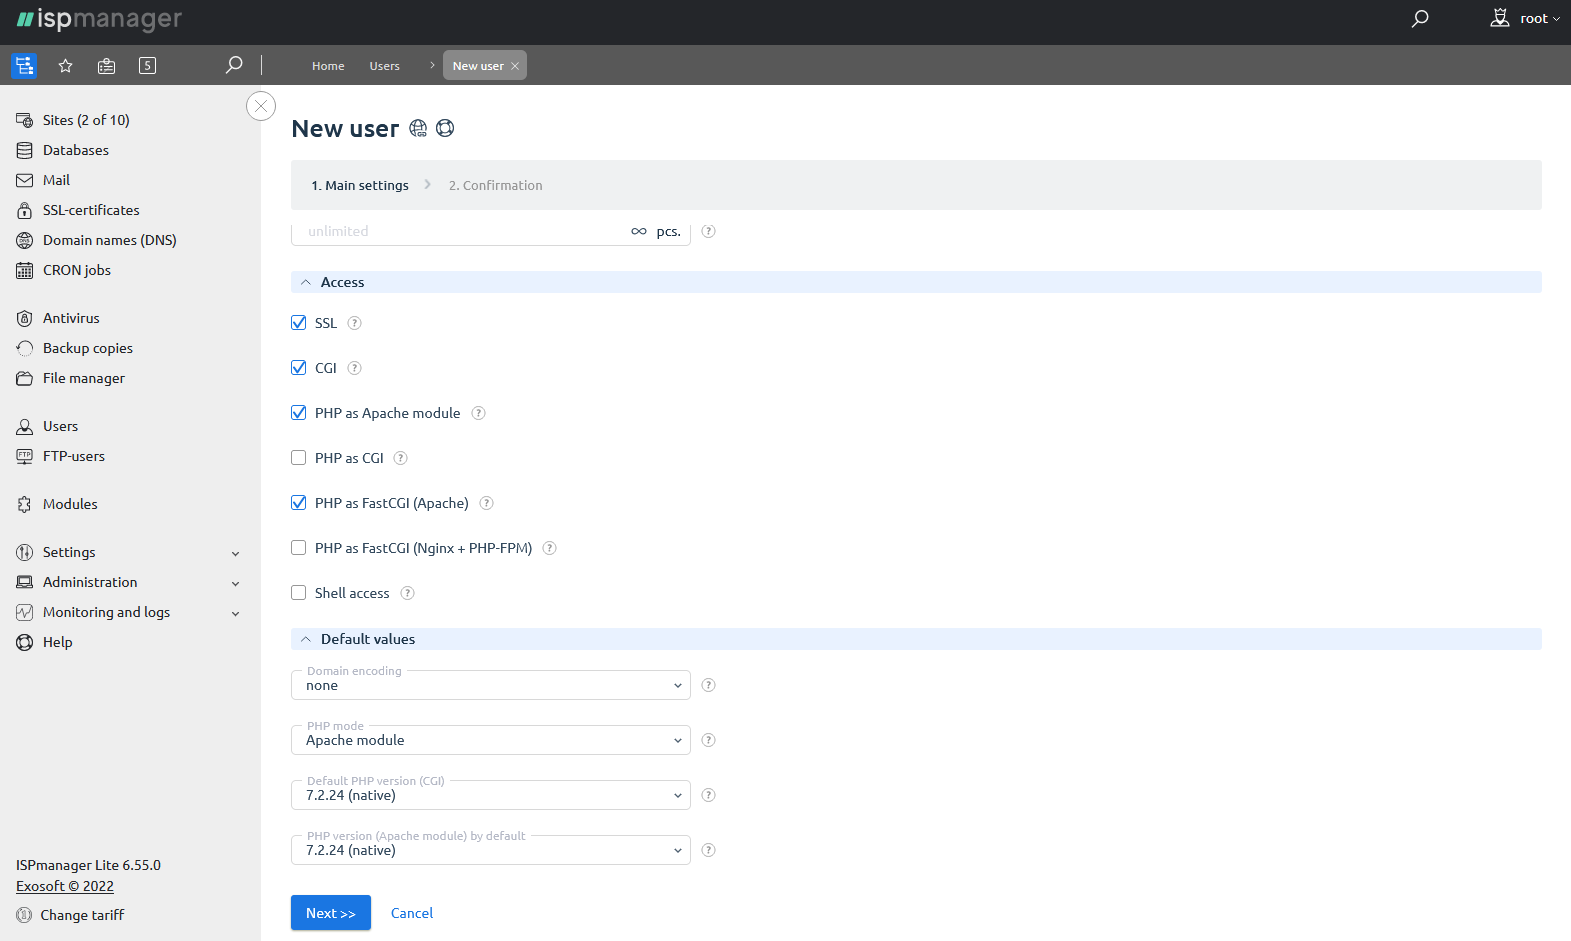
 2.2 Set the parameters in the "Access" tab for the new user.
2.3 Set the "Default values" as shown in the screenshot below. Then click "Next".
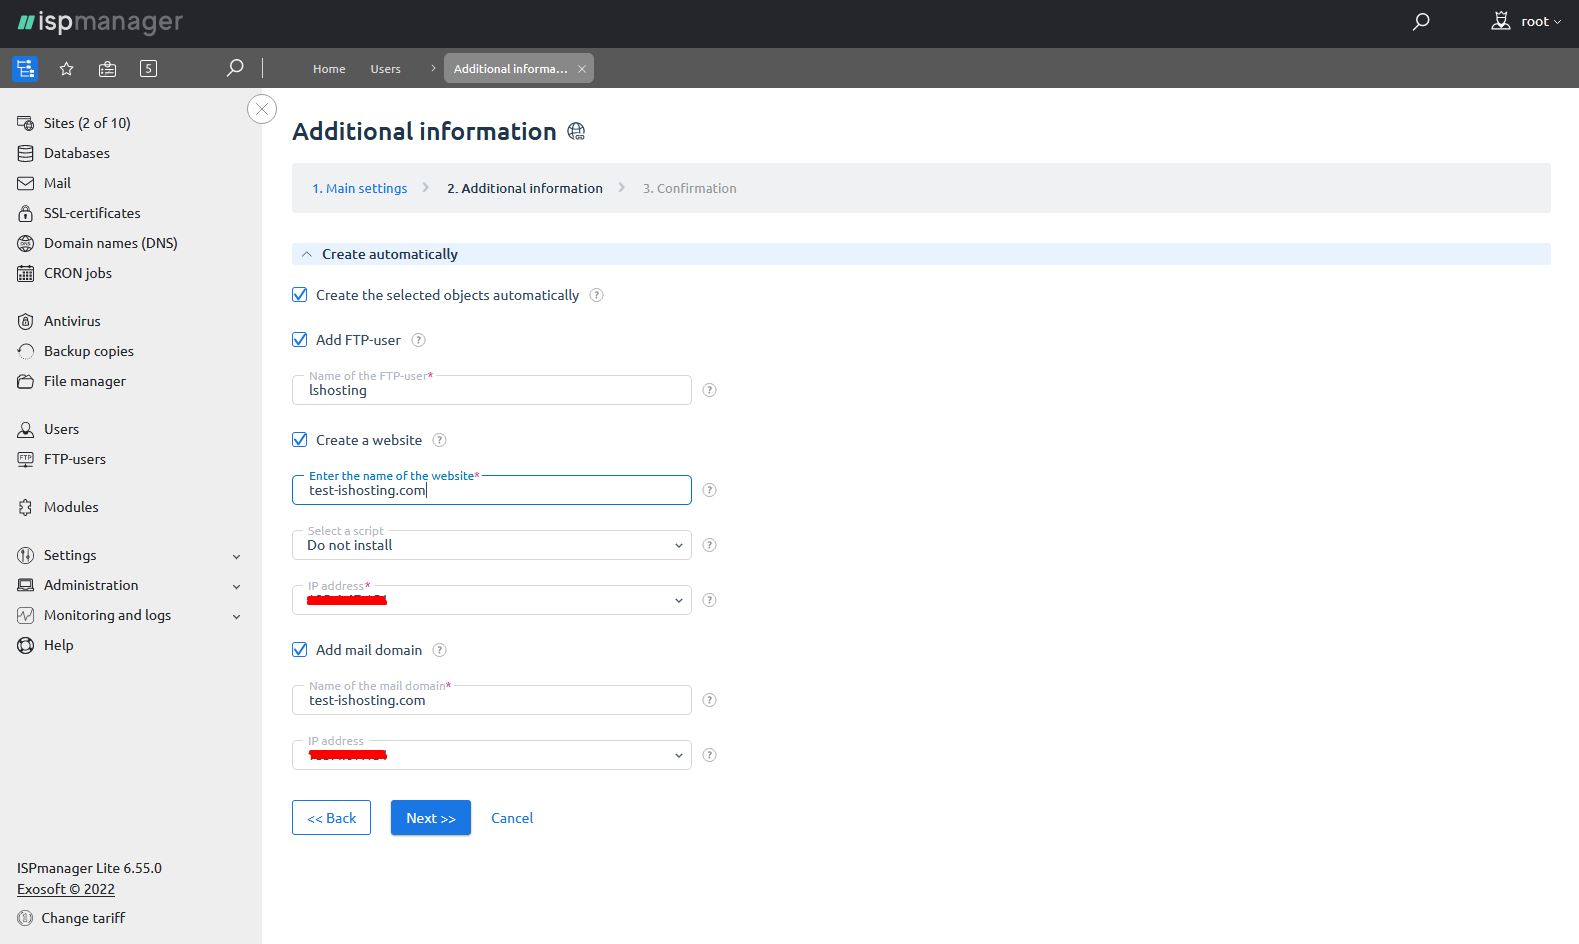
2.4 In the tab "Additional information", fill out the fields as in the screenshot below. If this domain will also be the mail, then specify its name and IP-address in the appropriate field.
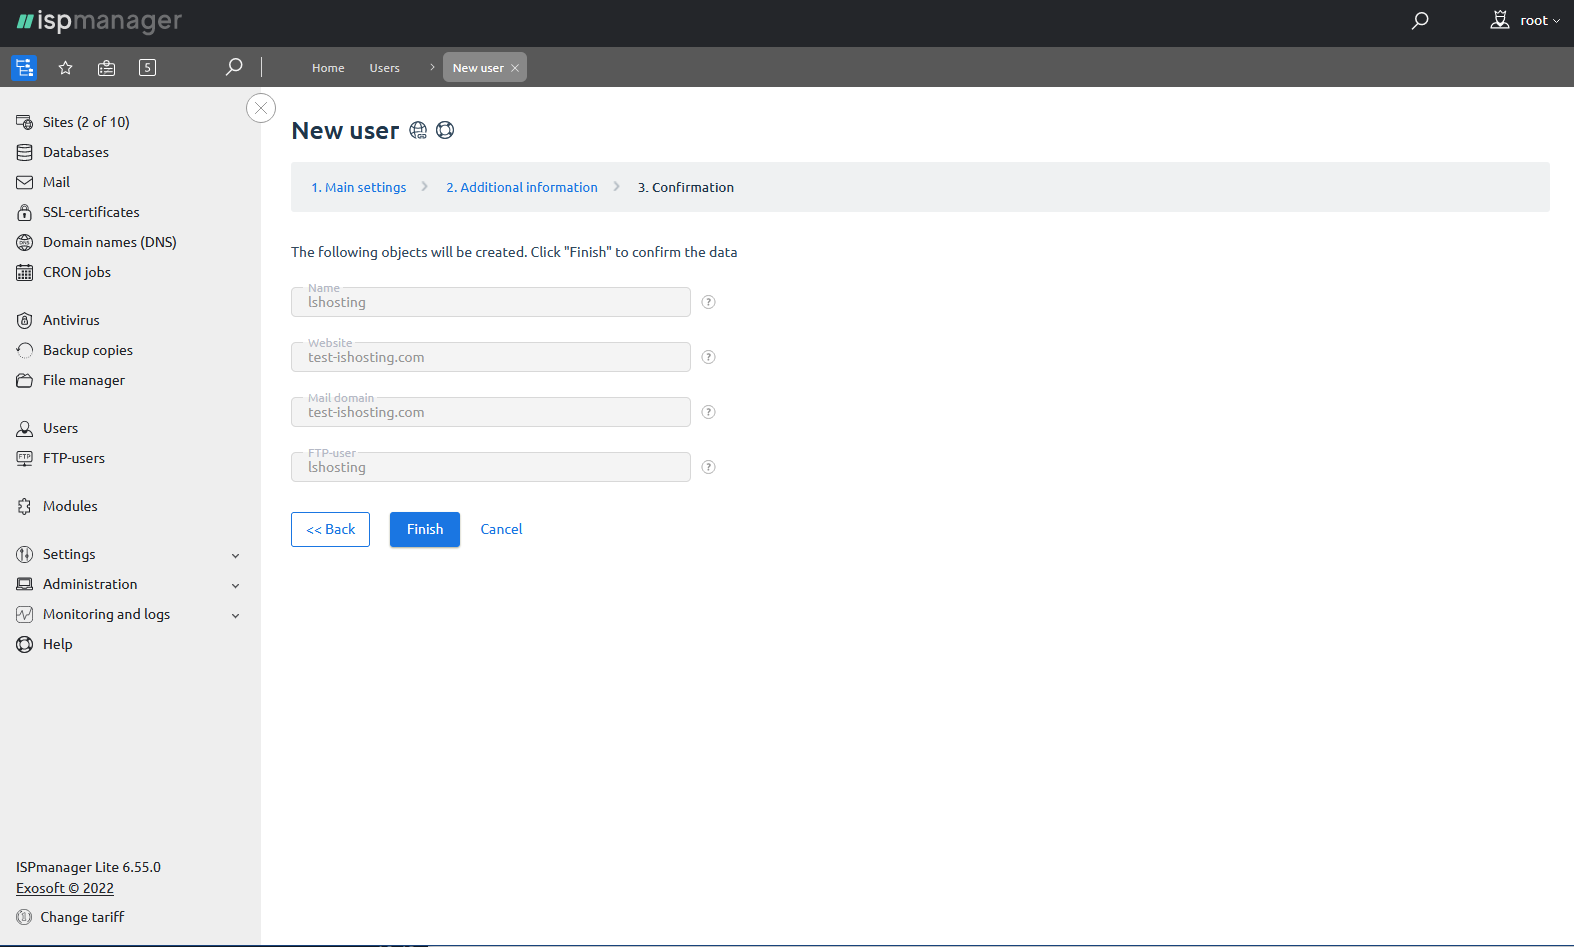
2.5 After filling in all the fields, check the correctness of the entered data and click "Finish".
3. Creating a Database
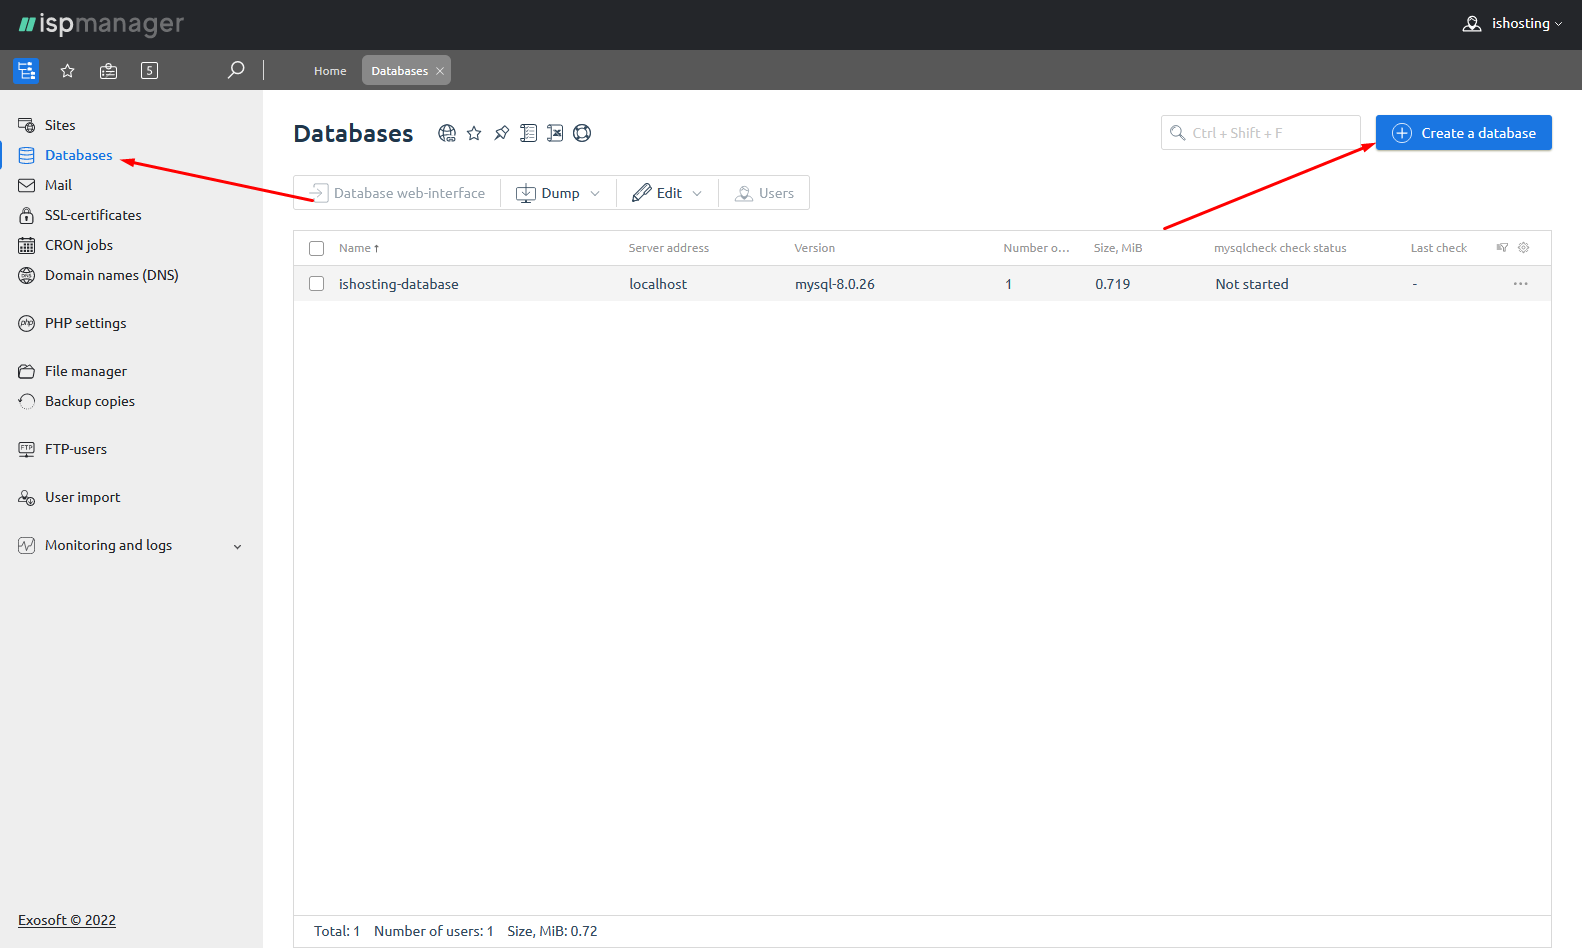
3.1 For this step, go to the "Databases" section and click on "Create a database". If the error "Can't connect to local MySQL server through socket '/var/lib/mysql/mysql.sock' (111)" appears, restart VPS in your client area on ishosting.com
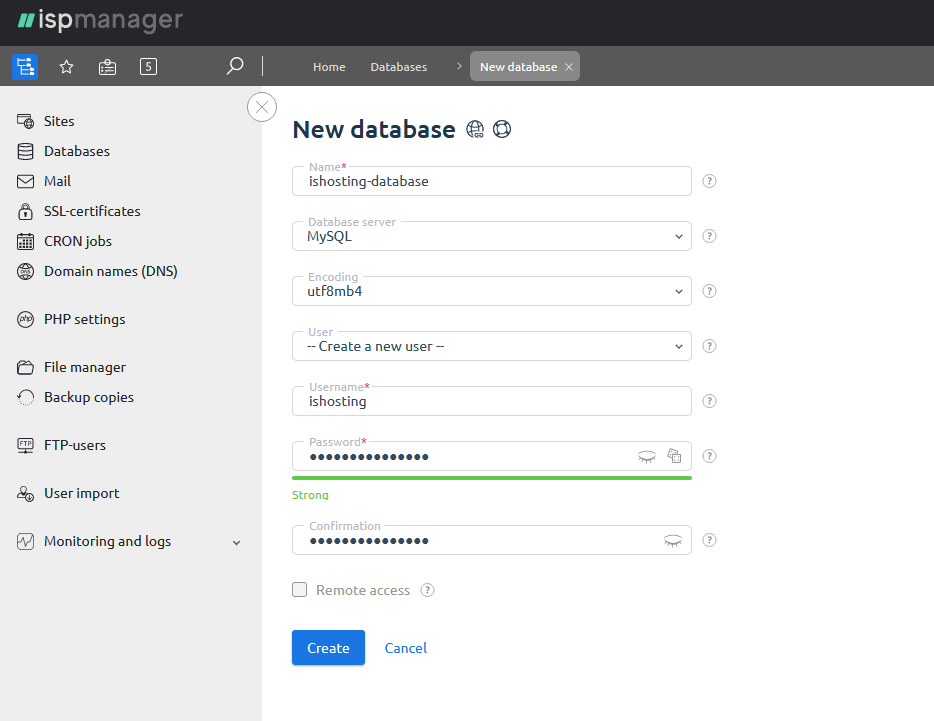
 3.2 Fill in all the fields of the new database and click "OK".
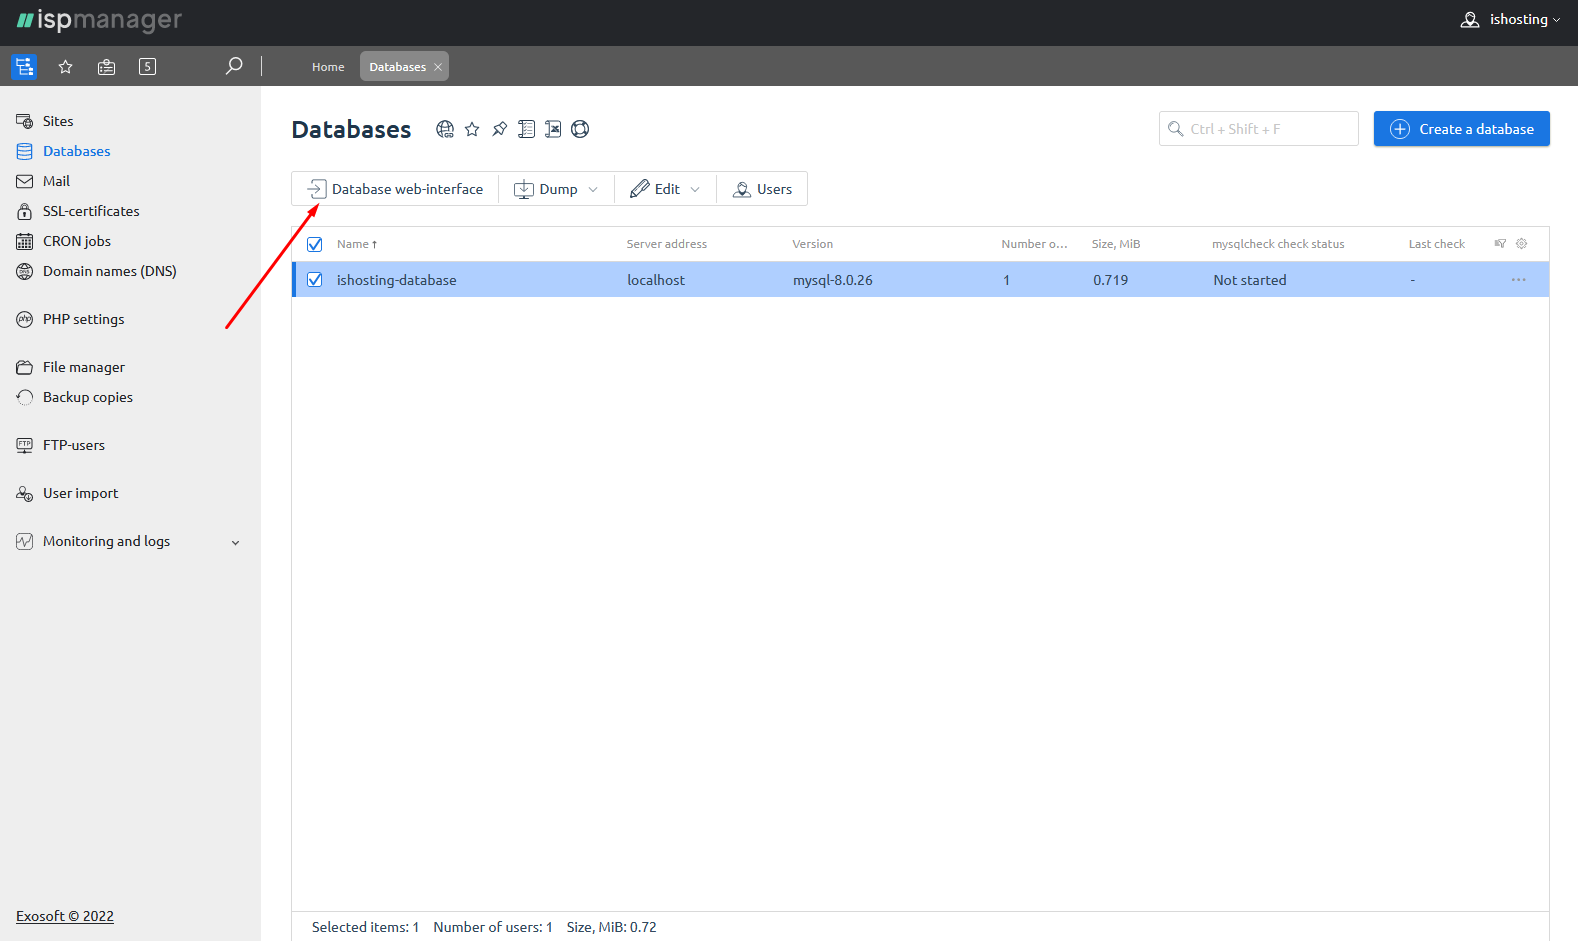
3.3 Then go to the "Database web-interface".
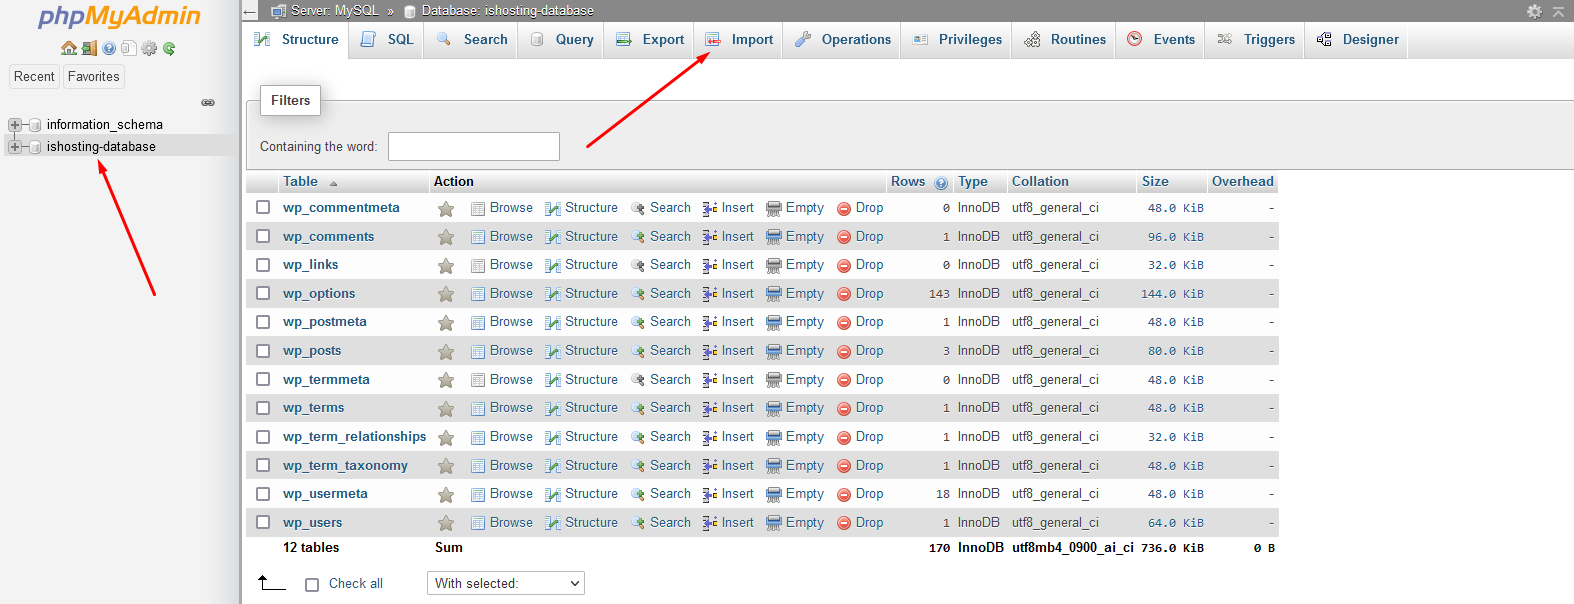
3.4 In the phpMyAdmin, choose the previously created database and click "Import" if you already have a database. Upload the document (most often .sql) from the computer by clicking on "Ok".
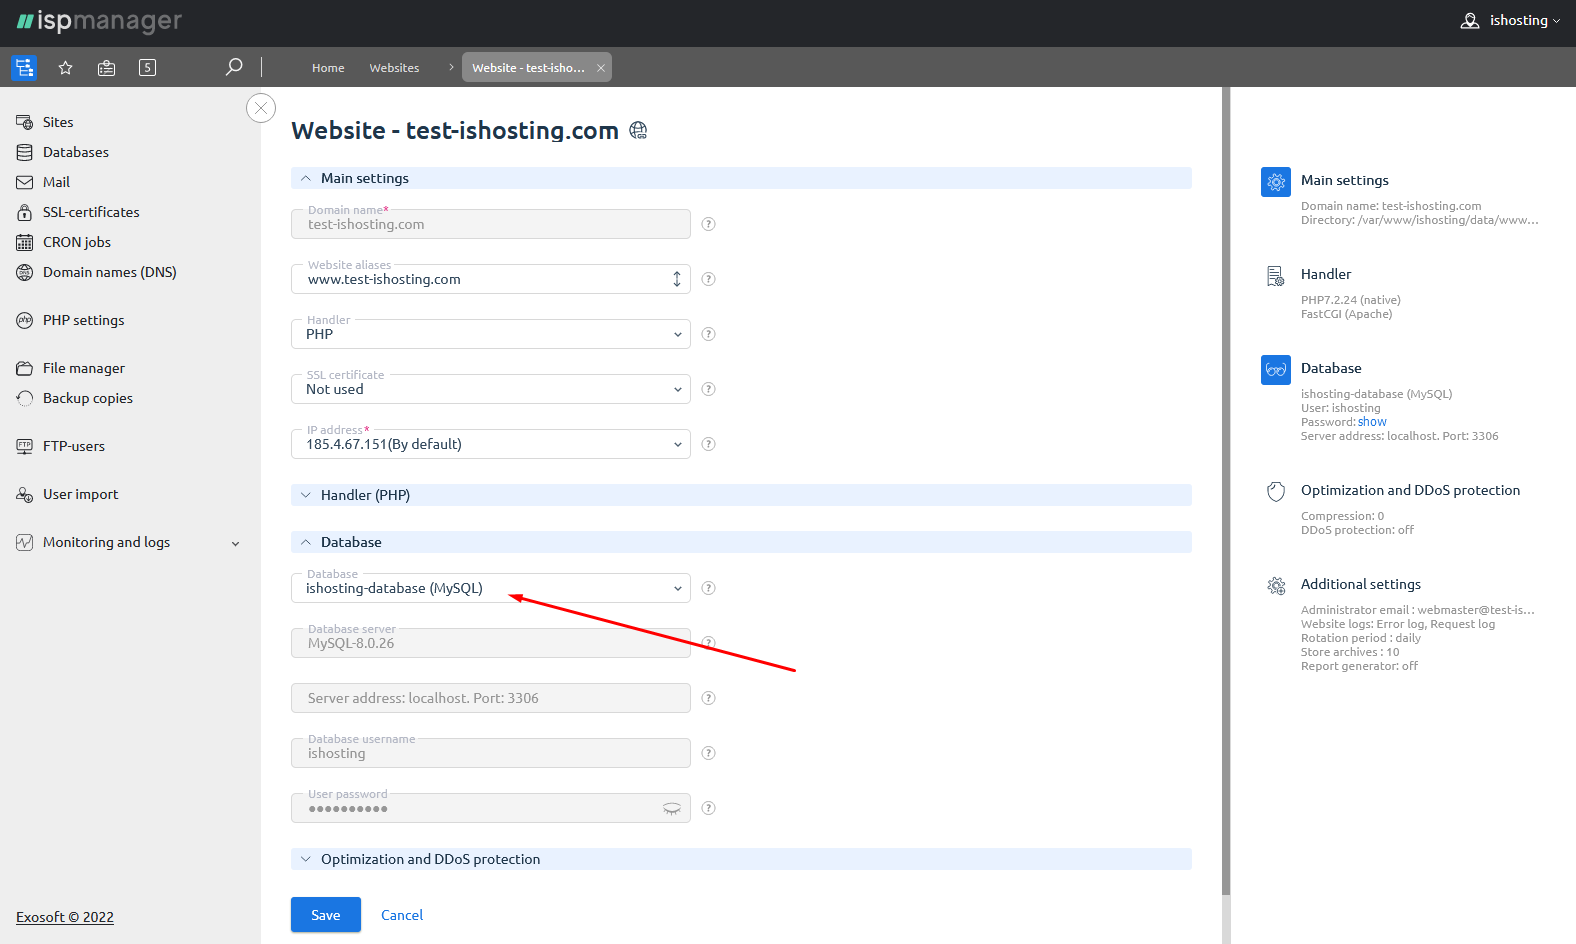
3.5 If you have no database, then bind the created database to the website as shown in the screenshots.
4. Setup VPS server for website: uploading website files
Consider two options for uploading the website on a VPS: when you already have ready-made files with a certain CMS and when you need to pre-install the CMS. Setting VPS for a website is the next huge step.
4.1 Uploading a Ready-Made Website to a VPS
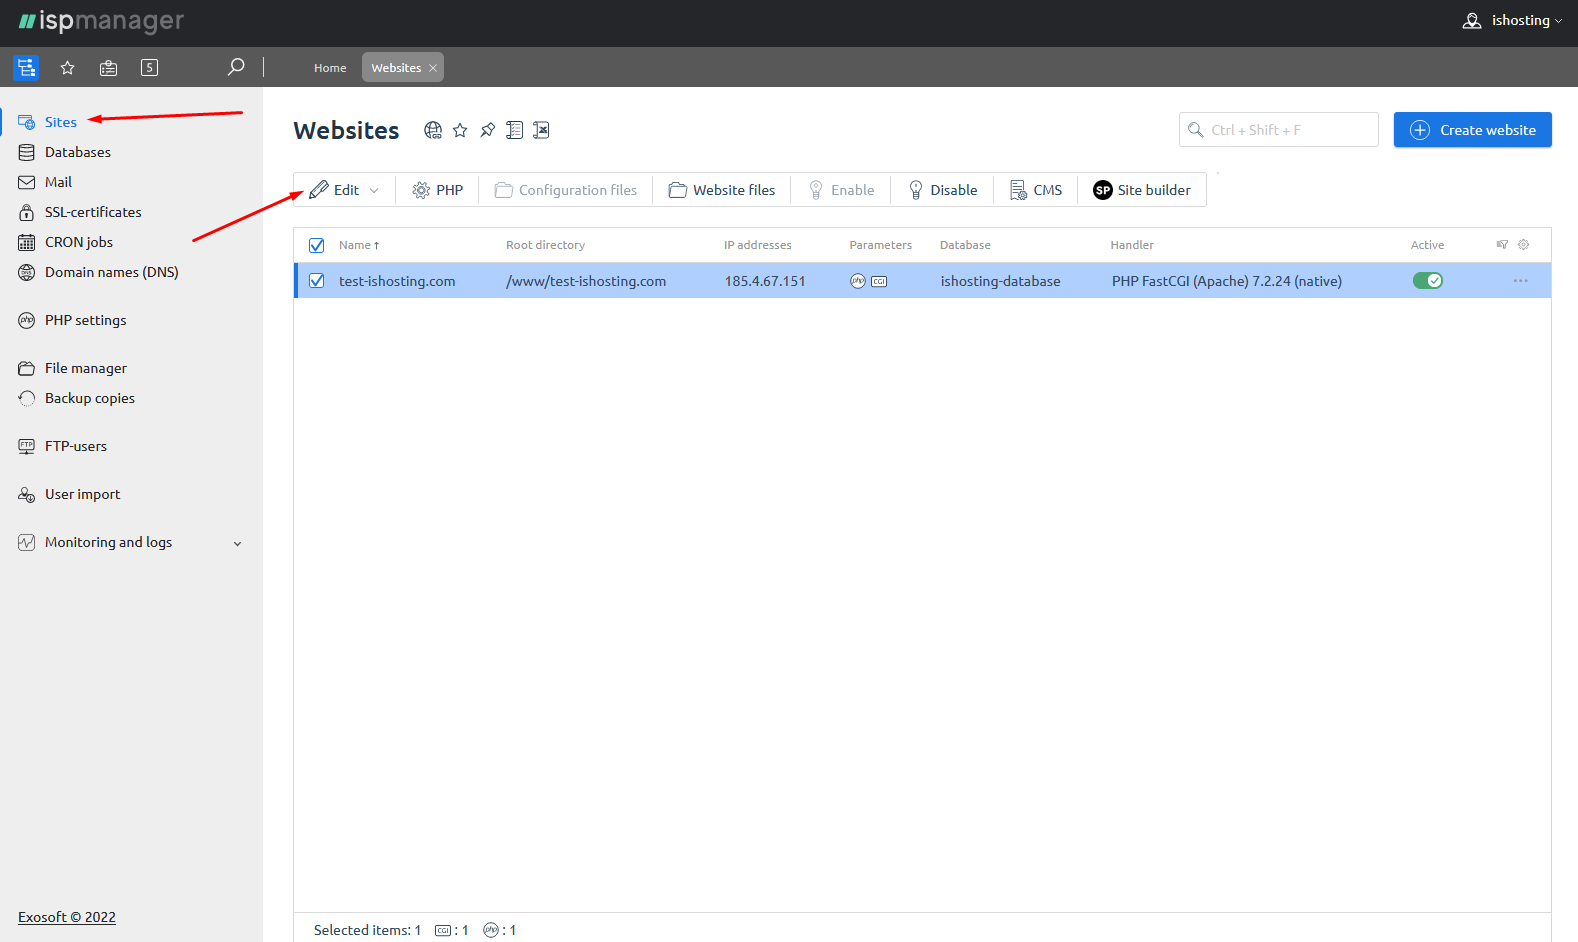
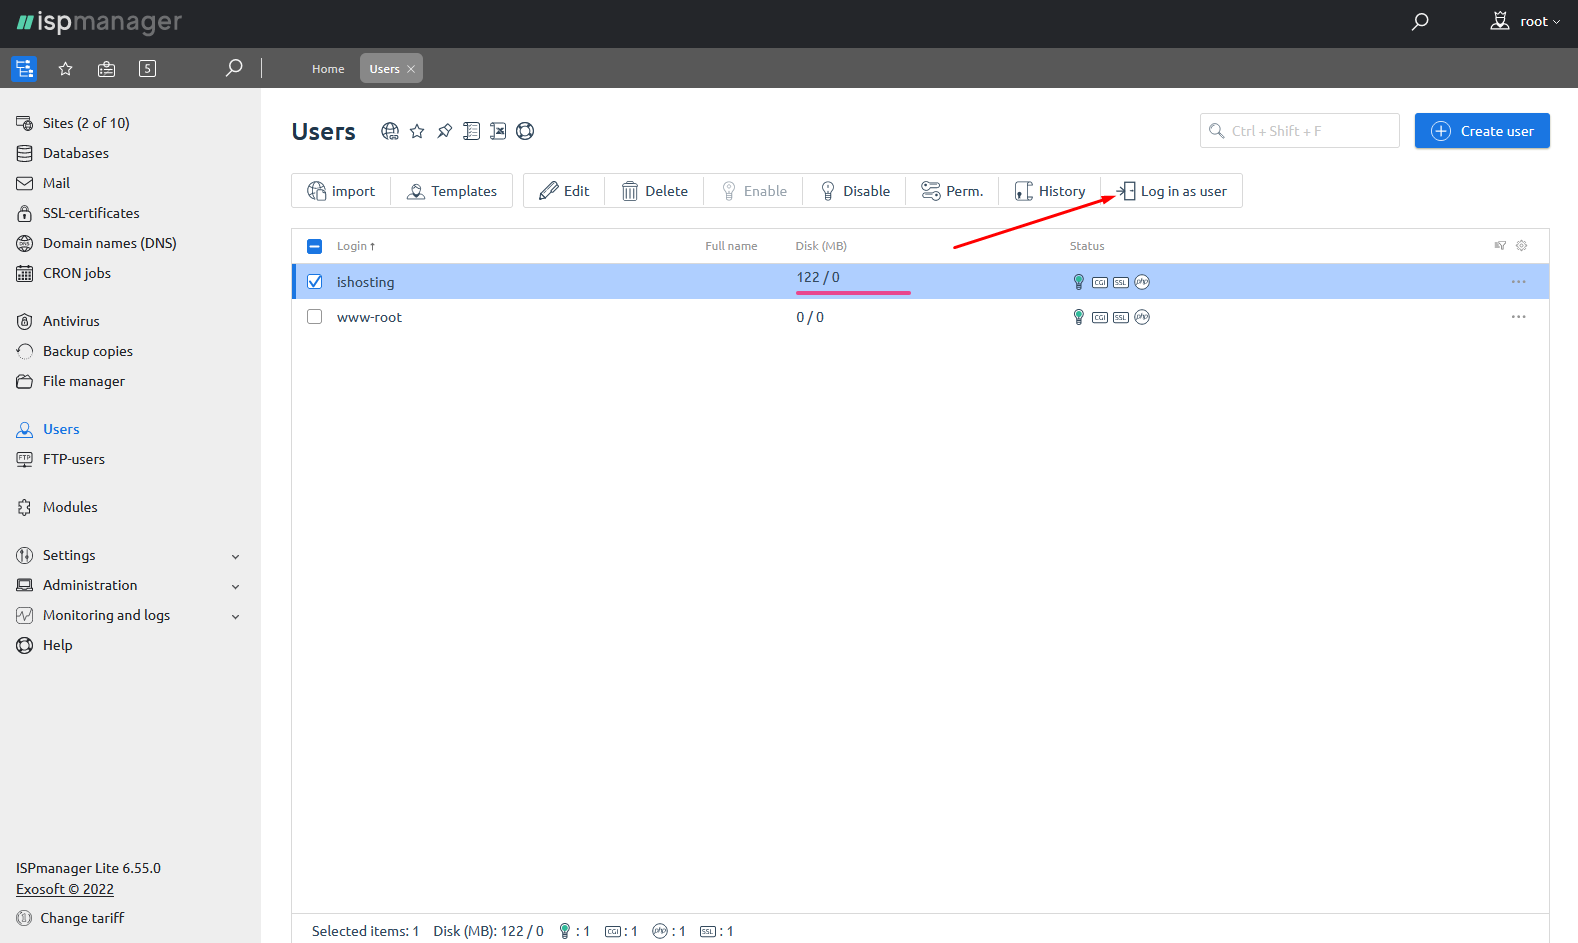
4.1.1 In the "Users" section, click the "Log in as user" button.
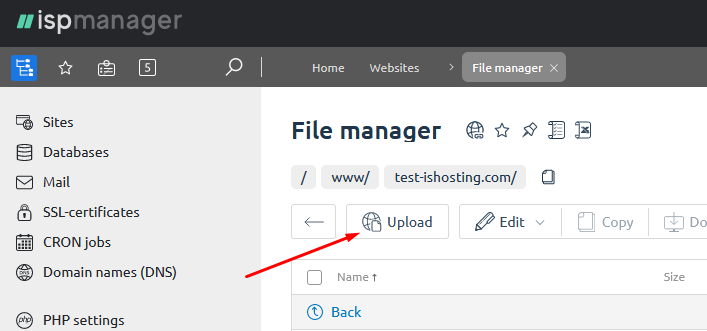
4.1.2 Click the "Website files" button in the top bar.
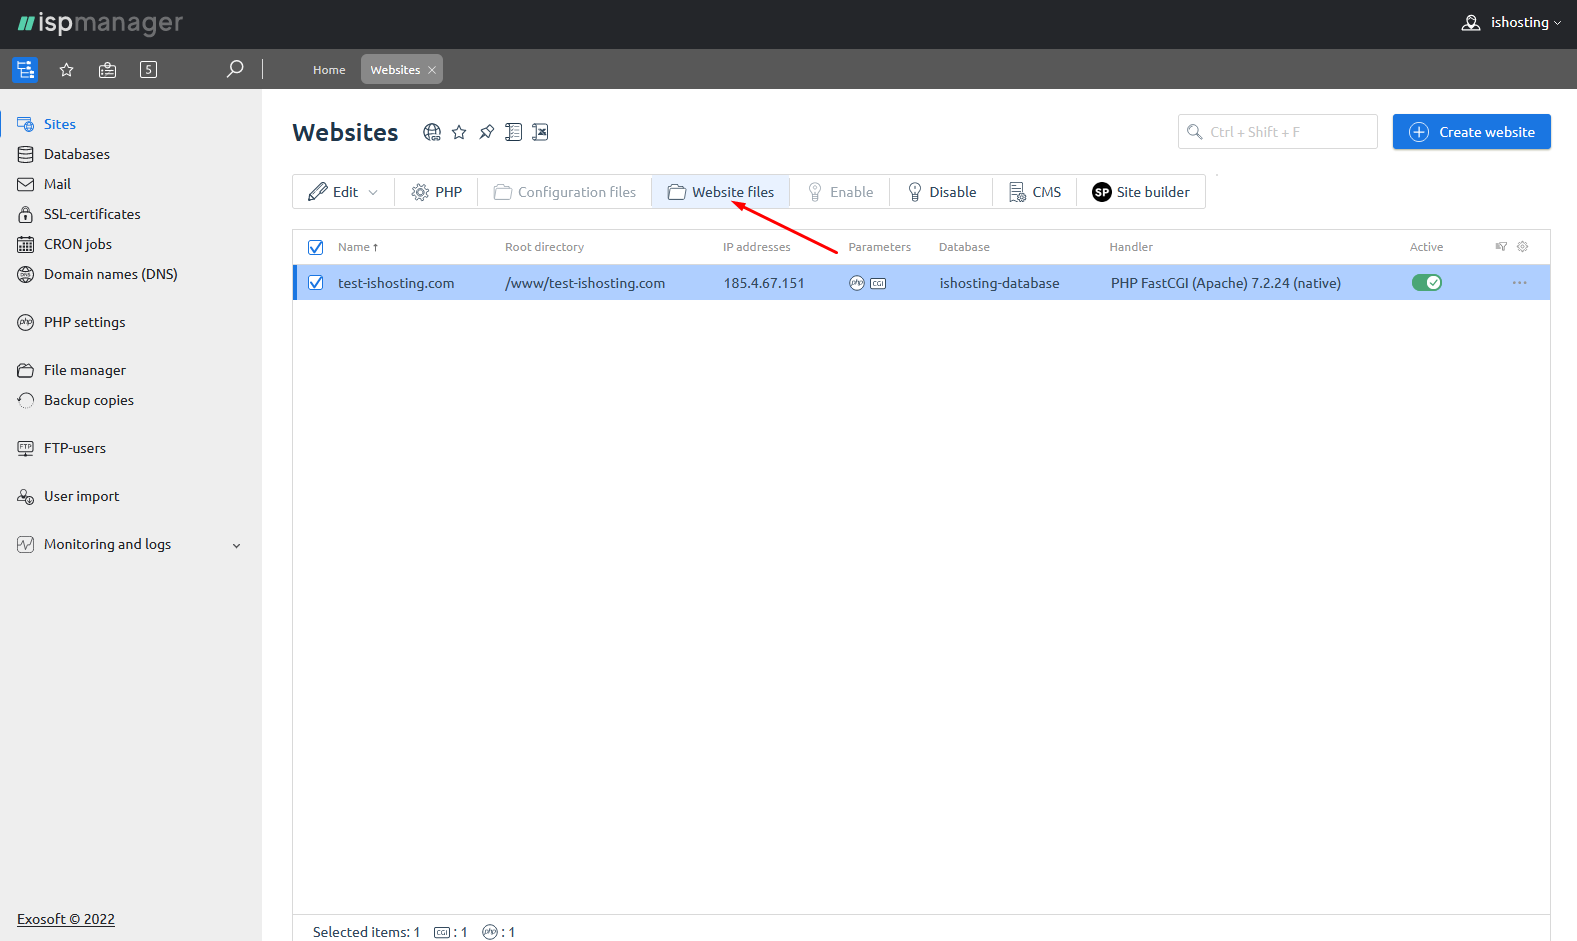
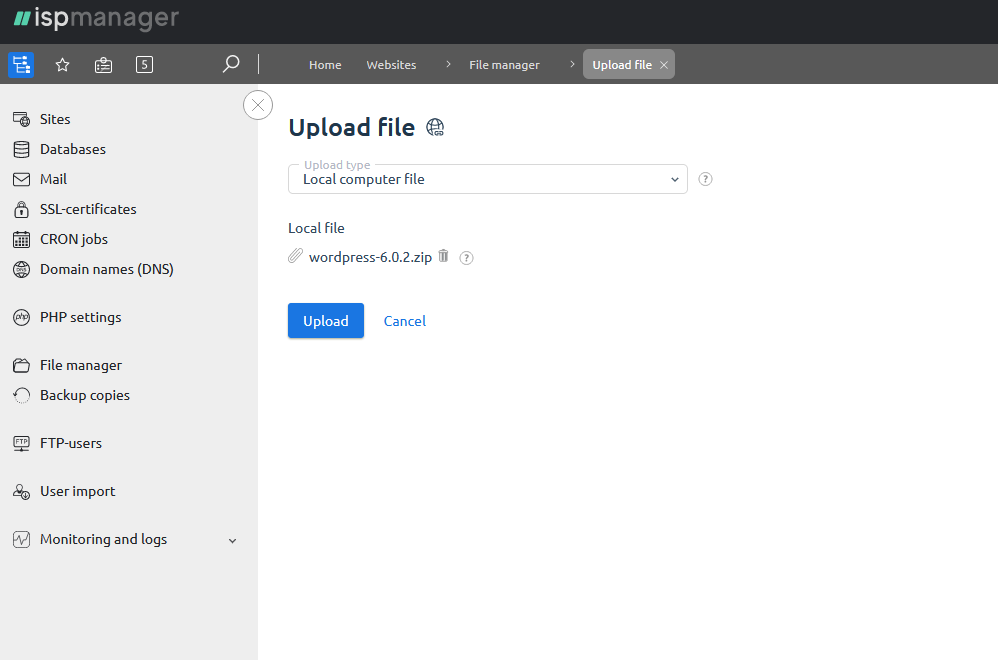
4.1.3 Then click "Upload" and select the archive with the site (in our example, it is WordPress, which can be downloaded by following this link). Press "Upload".
 4.1.4 After uploading, unpack the archive as shown in the screenshots, select the folder with the name of the website, and click "Ok". Setting VPS is ready!
4.2 Loading the CMS From the ISP Manager
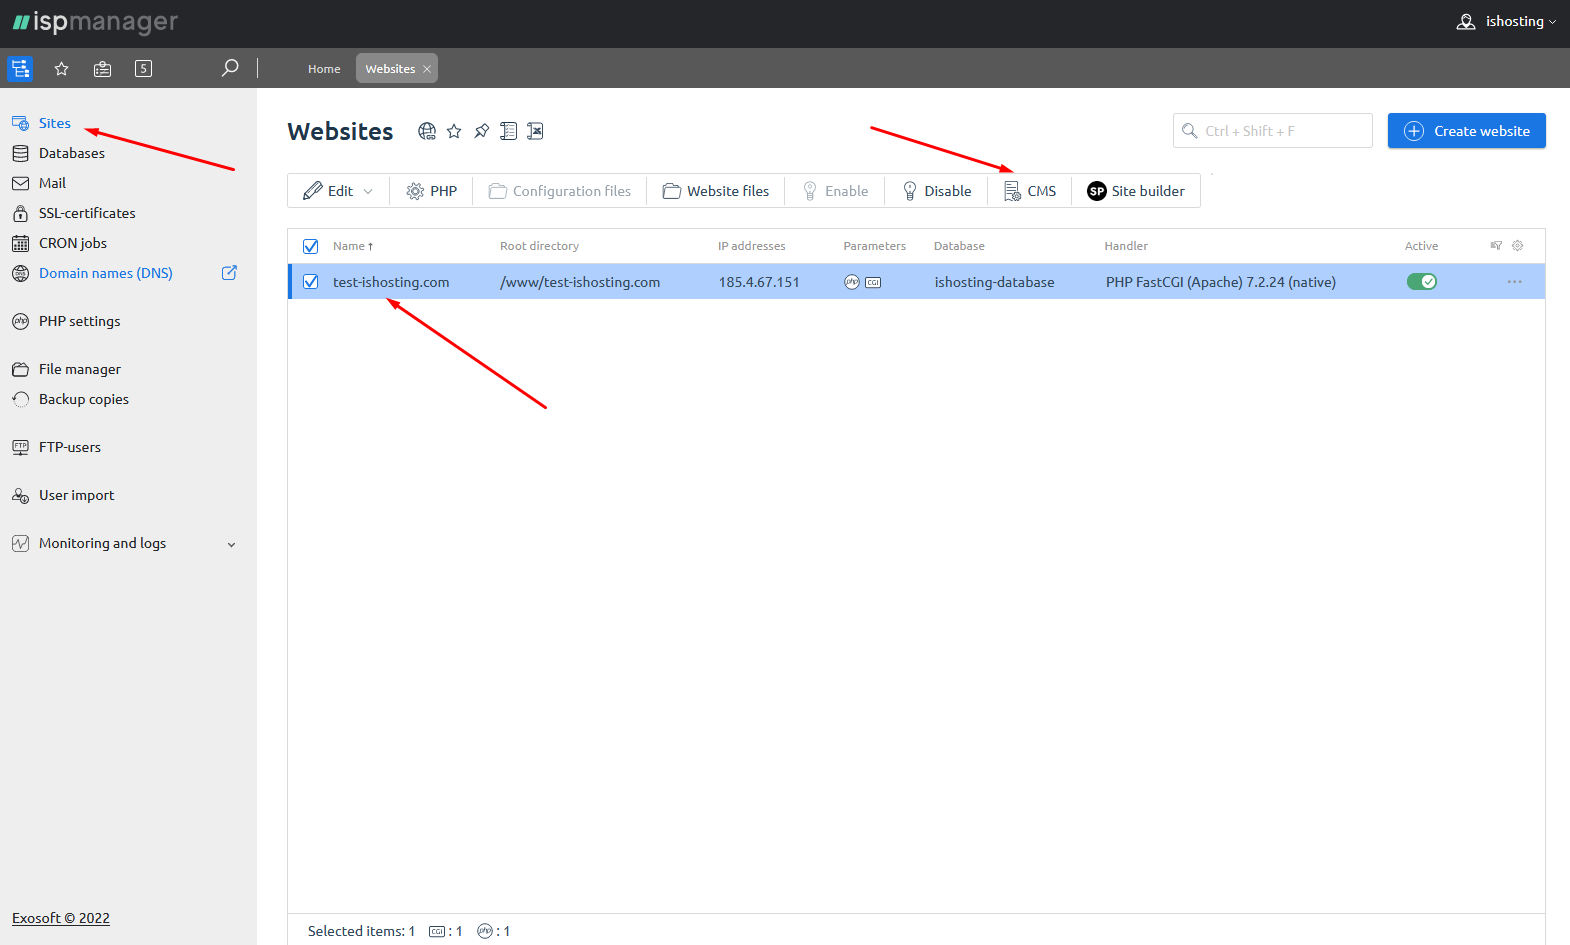
4.2.1 Click on the "CMS" button in the " Websites" section.
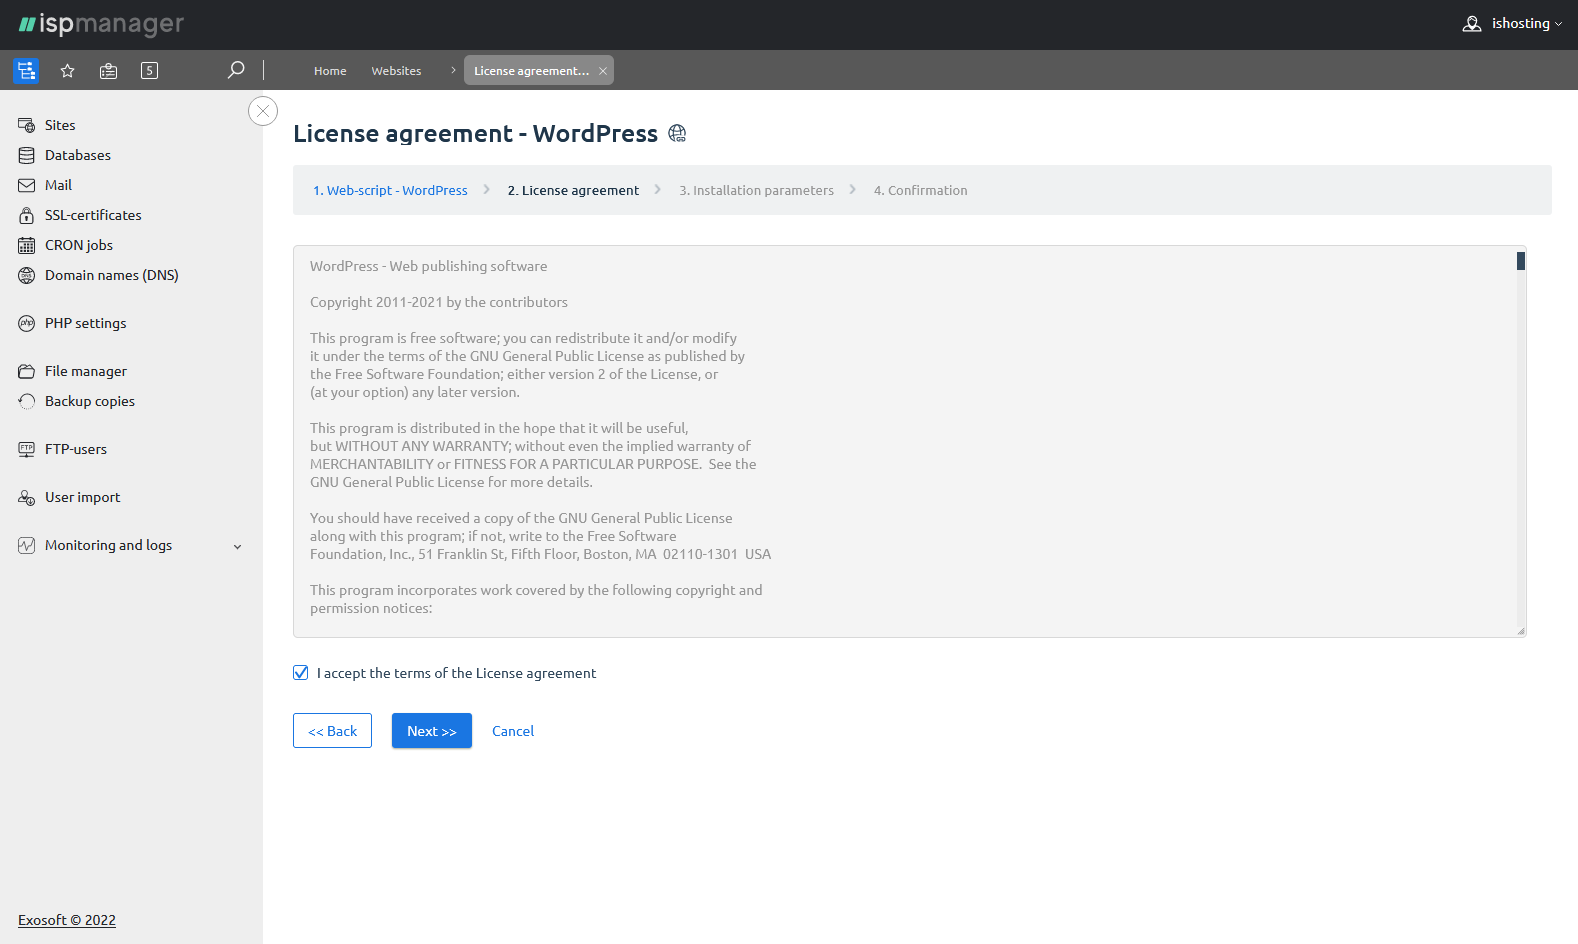
4.2.2 In the window that opens, choose a website, the desired CMS, and click "Install". Accept the license agreement for the selected CMS, marking a checkbox "I accept the terms of the License agreement" and click "Next".

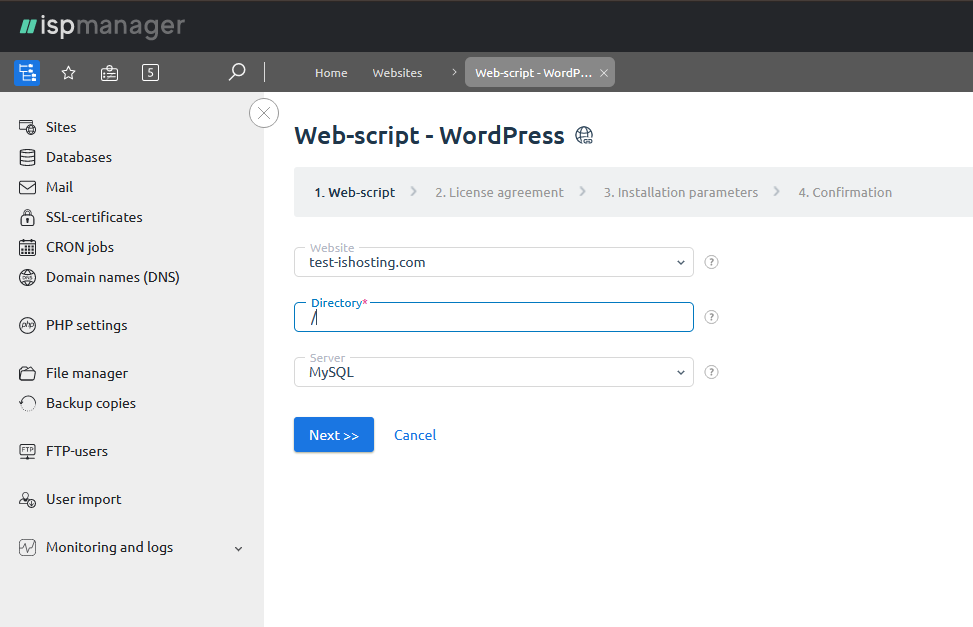
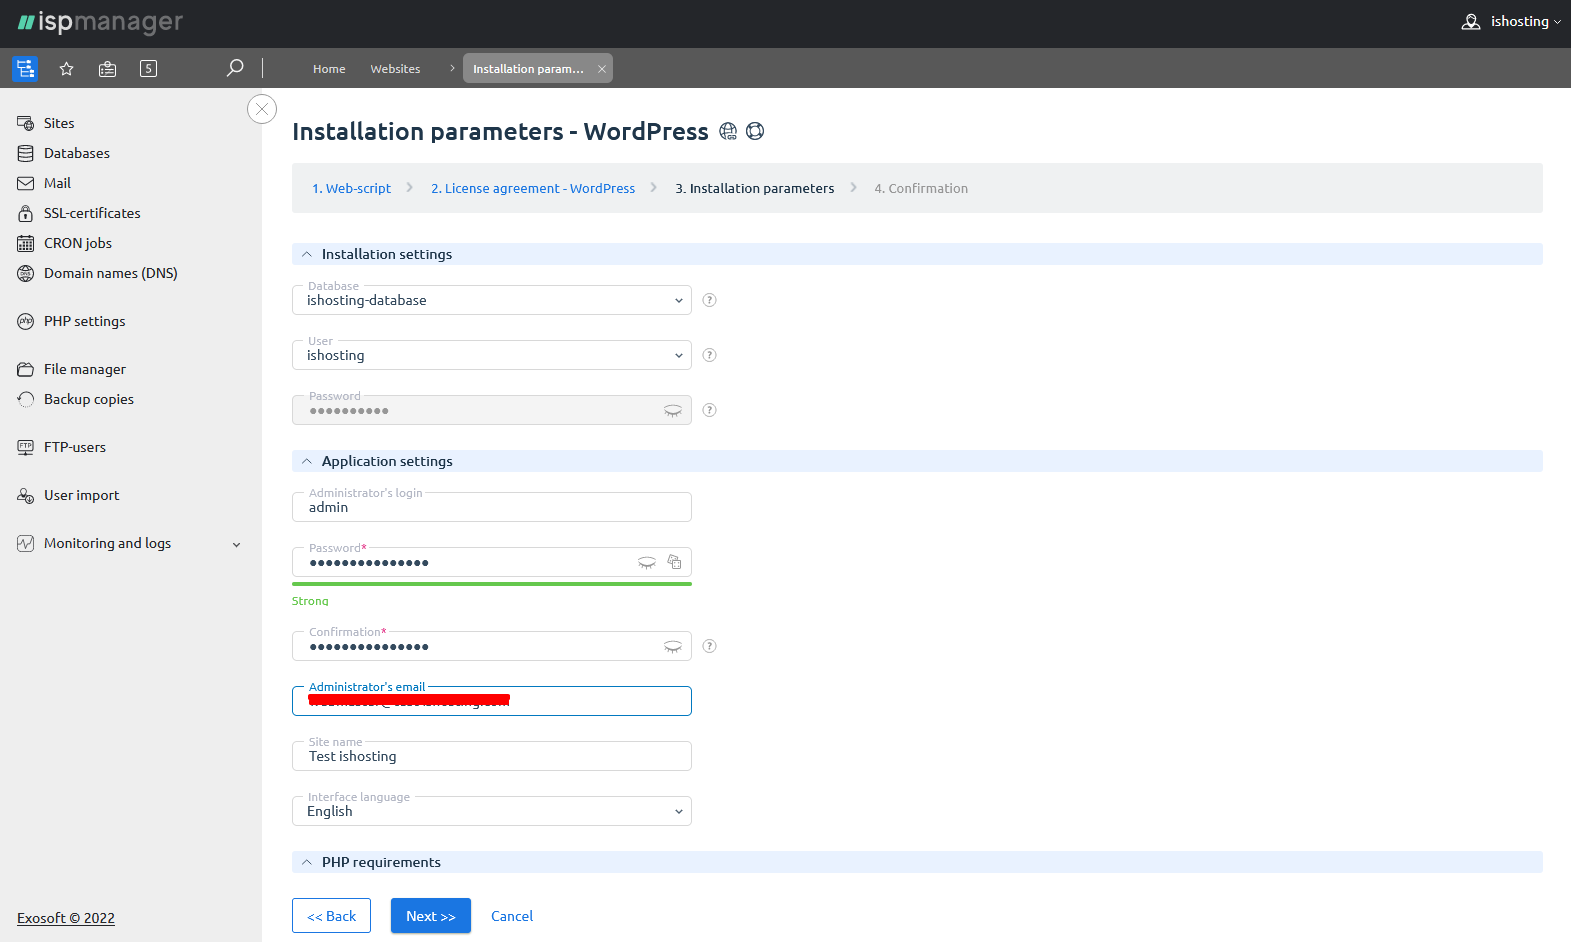
 4.2.3 In the "Installation parameters", select the database and the created user, then define a username and password for the CMS. If the domain has not yet been purchased, you should specify the address of an existing mailbox. Then check the data you entered, confirm and complete the installation. In a few minutes, the CMS will be installed.
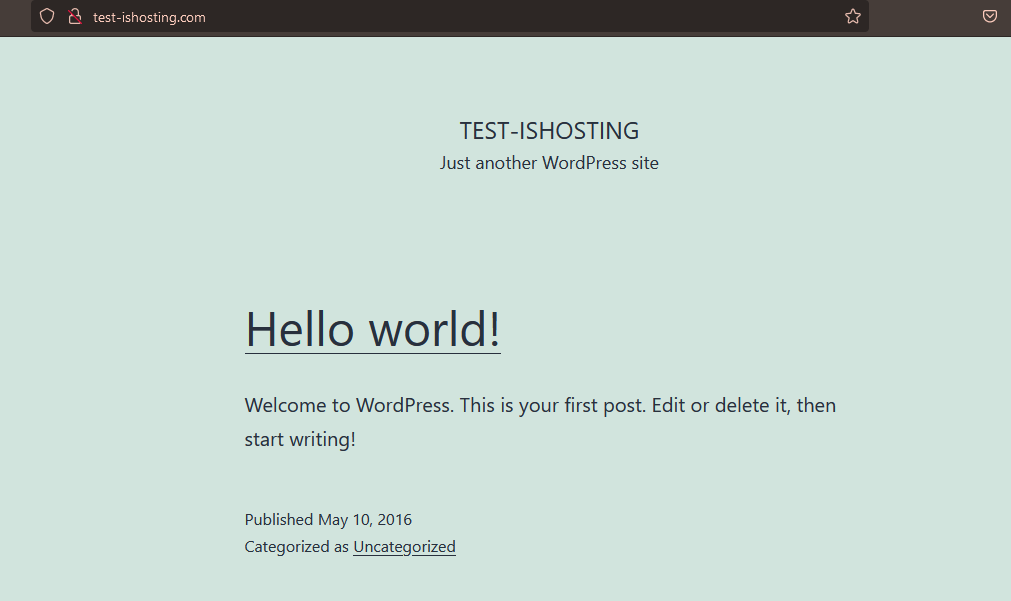
5. Checking the Performance of the Hosted Site
After all these operations, it should take time before the website will open at the specified domain name because the DNS cache can be updated for up to 72 hours. If you do not have time or desire to wait, you can check the performance of the hosted site faster.
If you have a Unix-like operating system installed on your computer (e.g. Linux), you should do the following:
- Add the following entry to the /etc/hosts file: 1.1.1.1.1 example.com, where 1.1.1.1 is the IP address of your server and example.com is the domain name.
If you use the Windows operating system, then:
- In the C:\windows\system32\drivers\etc\hosts file, add the following entry: 1.1.1.1.1 example.com, where 1.1.1.1 is the IP address of your server and example.com is the domain name.
After that, the site will open by the domain name on your personal computer.
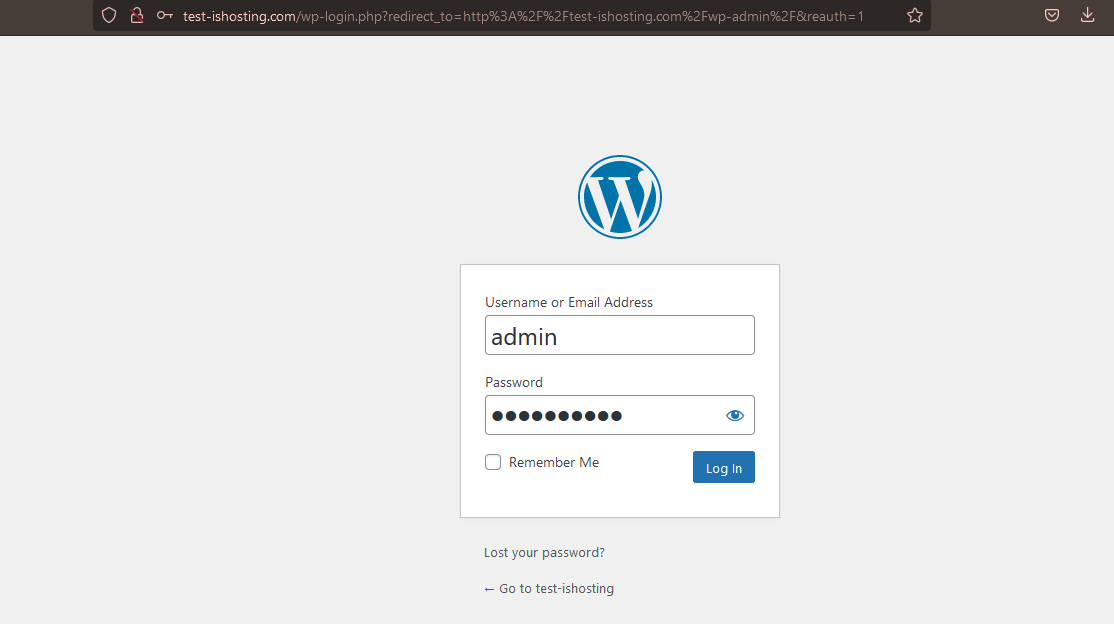
At example.com/wp-admin, you will be able to log in with the username and password from step 4.2.3.
Setting Up VPS Name Servers
After updating the DNS, the website will be shown at the correct address on the network. If you performed operations from step 5, you need to delete the entered settings after the DNS update.
After setting up VPS and the website, you need to specify the IP address of the server as an A-record for your domain on the registrar's website. And there are several ways here:
- Use the name servers of the registrar if it provides such a service. In your account, order DNS hosting, configure, and specify the IP address of the server as the domain A-record.
- The most cost-effective alternative (ISPmanager + 2 DNSmanager, ISPmanager + DNSmanager, ISPmanager), if a registrar does not provide the name server service, is to use its own server as one name server and a free service (for example, ns2.trifle.net) as another.
Congratulations, you have completed setting up VPS for your website!
is*hosting - Hosting Provider
High-performance equipment in data centers in 22 countries with a TIER3+ reliability level
VPS for Your Website
Choose the suitable configuration and enjoy all the benefits of a virtual private server.
From $5.00/mo